Virtual Recipients
If you have an Internal Recipient joe@domain.tld but you also want the email address joe.smoe@domain.tld to deliver email to joe@domain.tld, you would set up a virtual address of joe.smoe@domain.tld to deliver to joe@domain.tld. Please note, Virtual Recipients are not only limited to Internal Recipients. You can also create a Virtual Recipient to deliver email to an outside email address not handled by Hermes SEG. In the above example, we can easily setup joe.smoe@domain.tld to deliver to someone@gmail.com.
Any email destined for a virtual recipient are NOT checked by the spam filter.
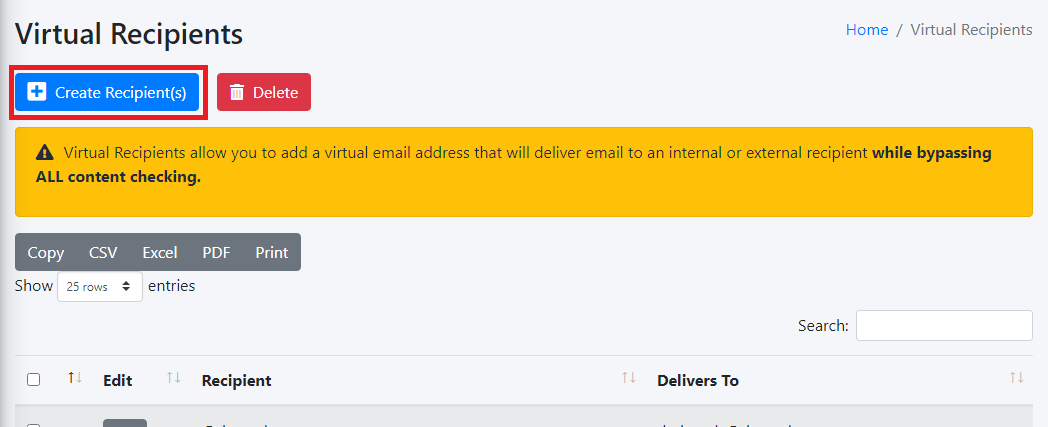
Create Virtual Recipient(s)
- Click on the Create Recipient(s) button (Figure 1).
Figure 1
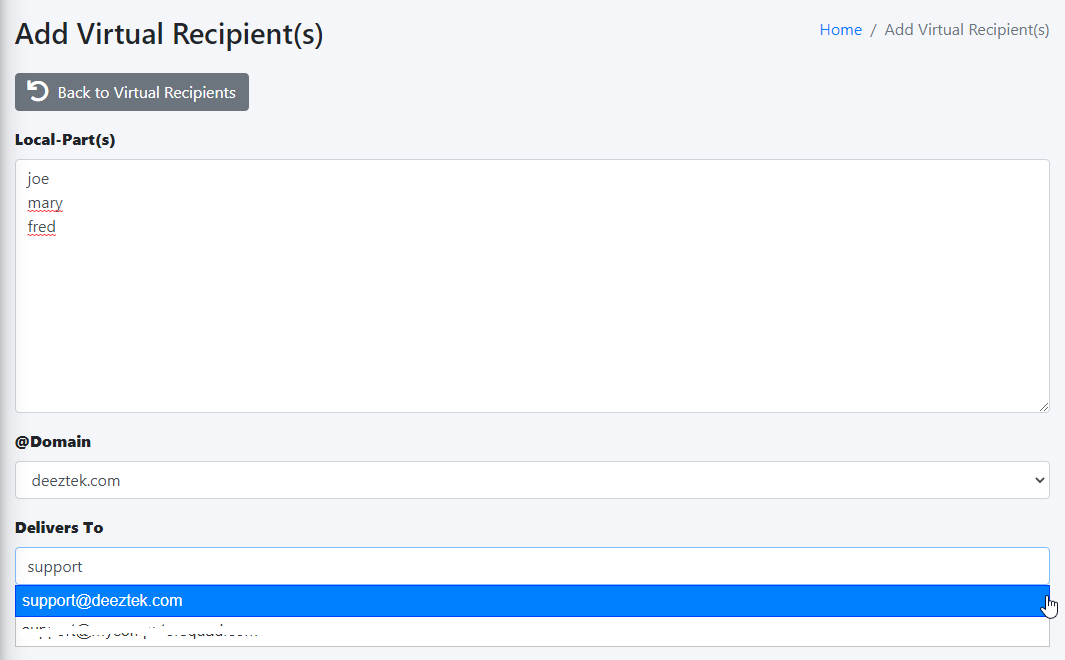
- On the Add Virtual Recipient(s) page, under the Local-Part(s) field, enter as many local-part(s) as required each in its own line (part before the @symbol of an e-mail address). You can also leave the Local-Part(s) field empty if you wish to forward an entire domain.
- Under the @Domain drop-down field, select the domain you wish to use.
- Under the Delivers to field, start typing the e-mail address of an existing Internal Recipient and the system will show a drop-down listing of Internal Recipients matching the e-mail address you are typing or enter an external email address.
- Click the Submit button (Figure 2).
Figure 2
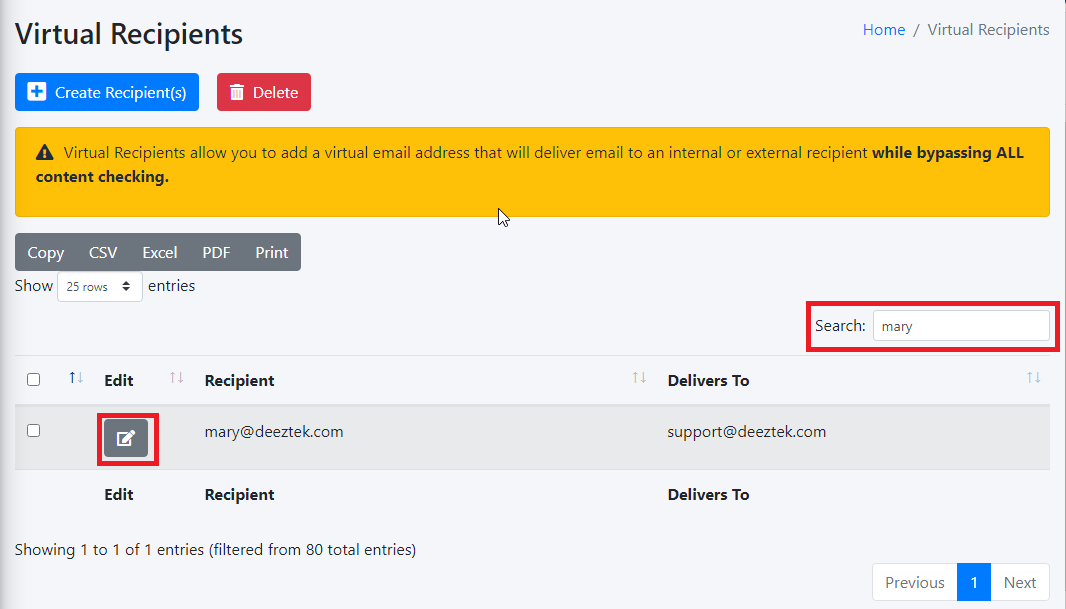
Edit Virtual Recipient
- On the Virtual Recipients page, locate the virtual recipient you wish to edit by typing any part of the e-mail address in the Search: field and then click the
 button next to the virtual recipient (Figure 3).
Figure 3
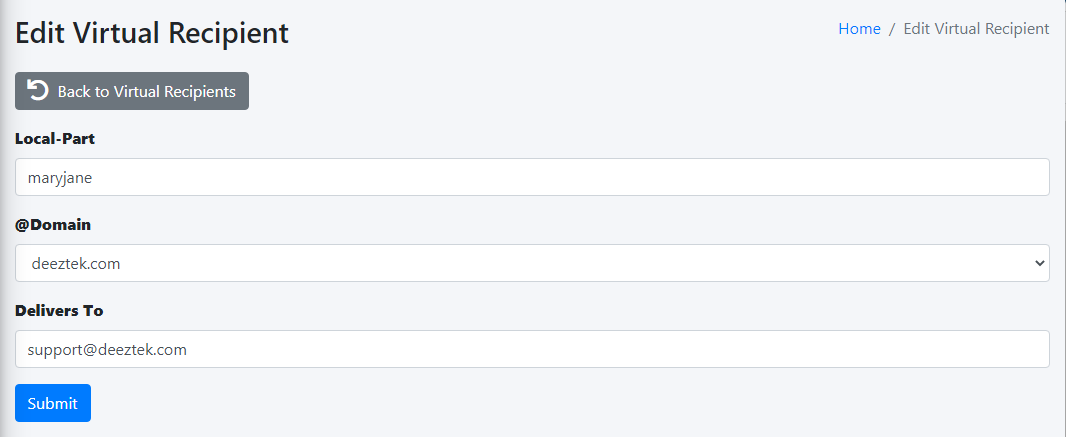
On the Edit Virtual Recipient page, make the necessary changes and click the Submit button (Figure 4).
Figure 4
Delete Virtual Recipient(s)
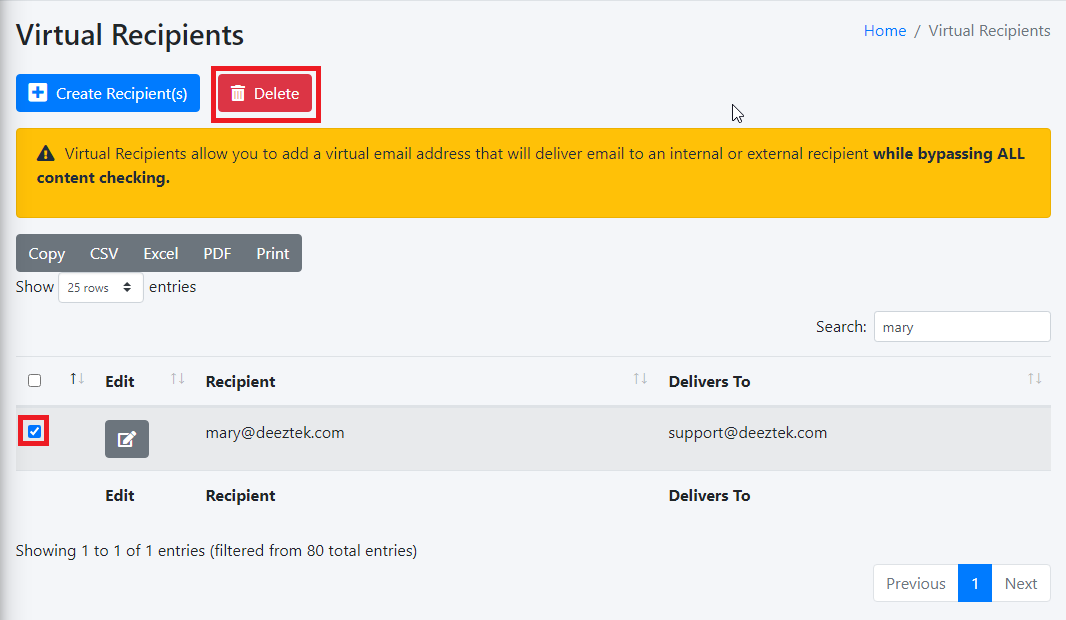
- On the Virtual Recipients page, locate the virtual recipient(s) you wish to delete by typing any part of the e-mail address(es) in the Search: field, place a checkmark on the checkbox next to the virtual recipient and then click the Delete button on top of the page (Figure 5).
Figure 5
On the Delete Recipient(s) confirmation page, click the Yes button to delete the recipient or No to cancel (Figure 6)
Figure 6
