RBL Configuration
A RBL (Real Time Block List) is a mechanism for determining the reputation of a sender IP address by looking up the sender IP through various RBLs that are configured in the system. RBL lookups are performed using DNS. The reputation of an IP is determined by assigning a score to a sender IP address. The higher the score, the lower the reputation. Once a certain score threshold is reached, the sender IP address is not allowed to send email to the system. The RBL threshold score is configured under Content Checks --> Perimeter Checks --> Realtime Block/Allow Lists Threshold Score.
There are two types of RBLs configured in Hermes SEG; Block type and Allow type. Block type RBLs are assigned a positive integer for weight and allow type RBLs are assigned a negative integer for weight.
Each RBL added to the system is assigned a weight based on the perceived effectiveness of that particular RBL. Each time a sender IP is matched against a RBL, a score is assigned to that IP depending on the weight of that RBL. For example, if a sender IP address matched against a block type RBL with a weight of 3 and also matched against a block type RBL with a weight of 1, but then matched against an allow type RBL with a weight of -1, then the RBL score for that IP address would be 3. So, if the RBL threshold score configured is 4, then that sender IP would be allowed to deliver email since sender IP reputation of 3 is lower than the RBL threshold score of 4.
The are many RBLs in existence today varying in degree of effectiveness and reputation. Thus which RBLs you choose to use can make a big difference in the effectiveness of Hermes SEG to identify IPs with poor reputation.
The following is a list of RBLs we can recommend:
Block Type RBLs
- zen.spamhaus.org
- b.barracudacentral.org --> Requires registration at http://barracudacentral.org/rbl
- bl.mailspike.net
- bl.spamcop.net
- dnsbl.sorbs.net
- psbl.surriel.com
- bl.spameatingmonkey.net
Allow Type RBLs
- list.dnswl.org
- wl.mailspike.net
Add Realtime Block List
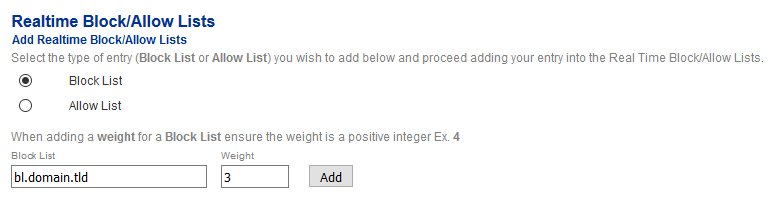
- Under the Select the type of entry... ensure Block List is selected.
- Under the Block List field, enter the block list host name.
- Under the Weight field enter a positive integer to assign as a weight to this RBL (if you do not enter a weight, a weight of 1 will be automatically assigned).
- Click the Add button (Figure 1).
Figure 1
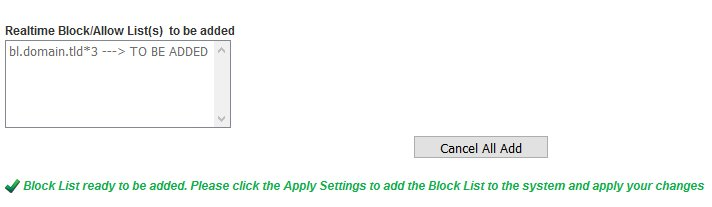
- Each RBL entry you add shows up in the Realtime Block/Allow List(s) to be added section (Figure 2).
Figure 2
- Continue adding RBL entries as needed. When finished, click on the Apply Settings button on the bottom of the page (Figure 3).
Figure 3

Add Realtime Allow List
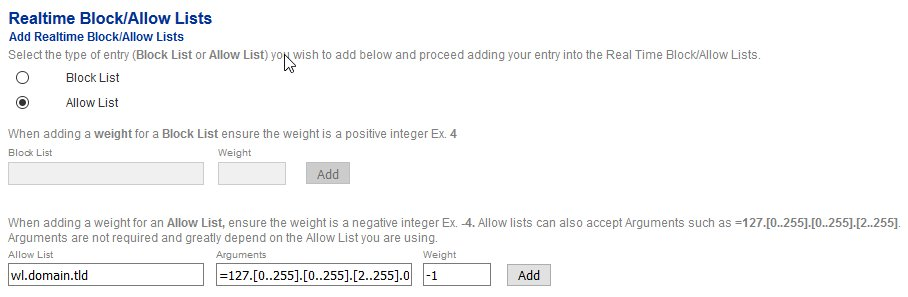
- Under the Select the type of entry... ensure Allow List is selected.
- Under the Allow List field, enter the allow list host name.
- Under the Arguments field, enter any arguments for the allow list if required.
- Under the Weight field enter a negative integer to assign as a weight to this RBL (if you do not enter a weight, a weight of 1 will be automatically assigned which will in effect invalidate the allow list so ensure you enter a negative integer).
- Click the Add button (Figure 4).
Figure 4
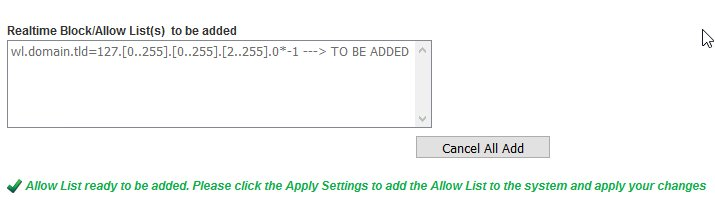
- Each RBL entry you add shows up in the Realtime Block/Allow List(s) to be added section (Figure 5).
Figure 5
- Continue adding RBL entries as needed. When finished, click on the Apply Settings button on the bottom of the page (Figure 6).
Figure 6

Delete RBL
- Under the Delete Realtime Block/Allow Lists section, select the entry you wish to delete and click the Delete button below (Figure 7). Note that only one entry can be selected to be deleted at a time.
Figure 7

- Each entry you select to be deleted shows up in the Permitted Relay IPs/Network to be deleted section (Figure 8).
Figure 8
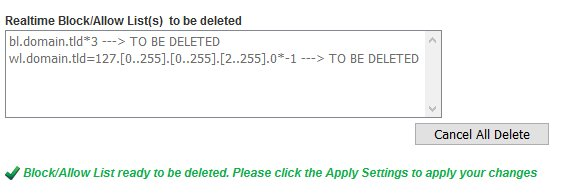
- Continue selecting entries to be deleted as needed. When finished, click on the Apply Settings button on the bottom of the page (Figure 9).
Figure 9
