Encryption Settings
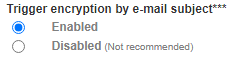
- The Trigger encryption by e-mail subject allows Internal Recipients to encrypt email to any External Recipient by entering a special keyword in the subject of any email. This setting enables or disables this feature. We recommend you set it to Enabled (Figure 1).
Figure 1
- The Encryption by e-mail subject keyword sets the special keyword to be entered in the subject of an email in order to encrypt that email message. Enter a unique keyword that would not normally appear in the subject of a typical email. We recommend you set this field to [encrypt] or [secure] ensuring to include the brackets (Figure 2).
Figure 2

- The Remove e-mail subject keyword after encryption field sets the system to automatically remove the special keyword from the subject after the email has been encrypted. We recommend you set it to Enabled (Figure 3).
Figure 3

- The Secure Portal Address field sets the address that will be included in PDF encrypted emails that require the recipient to navigate in order to decrypt, view and reply to encrypted PDF emails (Figure 4).
Figure 4

- The PDF Reply Sender E-mail sets the From address for when an external recipient replies to an encrypted PDF email from the Secure Portal (Figure 5).
Figure 5

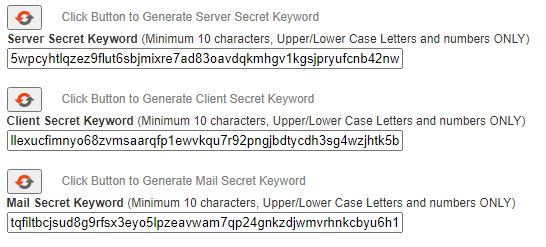
- The Server Secret Keyword, Client Secret Keyword and Mail Secret Keyword are used to protect external resources against tampering. For example if an external user replies to an encrypted PDF email, the Server Secret Keyword ensures that the user can only reply to to a message generated by this server. If you followed the Getting Started guide, you should had generated new Server Secret Keyword, Client Secret Keyword and Mail Secret Keyword. If not, ensure you generate one by clicking on the
 icon next to each which will automatically generate a keyword and enter it in each respective field (Figure 6).

Figure 6
- Click on the Save Settings button to save your settings.