Configure Outlook with Deeztek Nextcloud CalDAV Calendar and Deeztek Hosted Mail Account
Pre-requisites: You must have an existing Deeztek Mail account
Download and install the latest version of CalDav Synchronizer
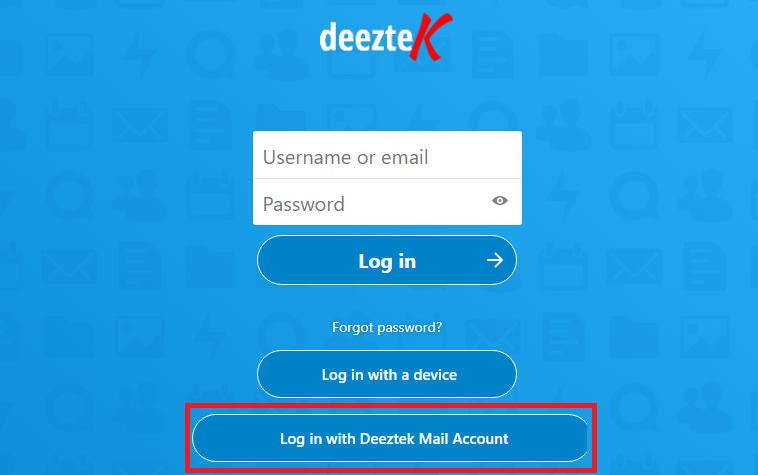
Login to Deeztek Nextcloud with your Deeztek Mail Credentials
Figure 1
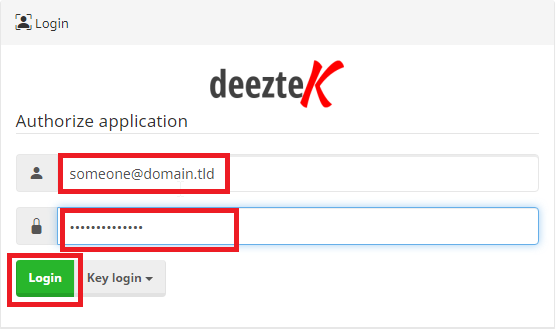
- You will be taken to the Deeztek Mail Authorize application screen. Enter your Deeztek Mail username and password and click the Login button (Figure 2):
Figure 2
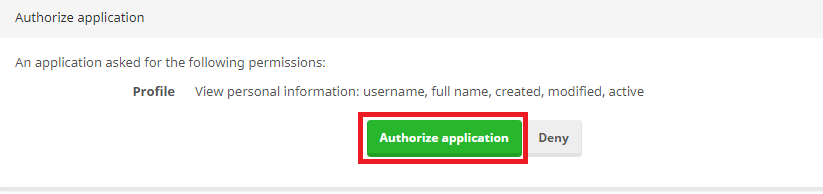
- On the following Authorize application screen, click the Authorize application button (Figure 3):
Figure 3
- Once you click the Authorize application button, you will be logged in to the Deeztek Nextcloud. On the top right menu, click on the round icon containing the initials of your name and then click on Settings (Figure 4):
Figure 4

- Next, click on Security on the left menu (Figure 5):
Figure 5

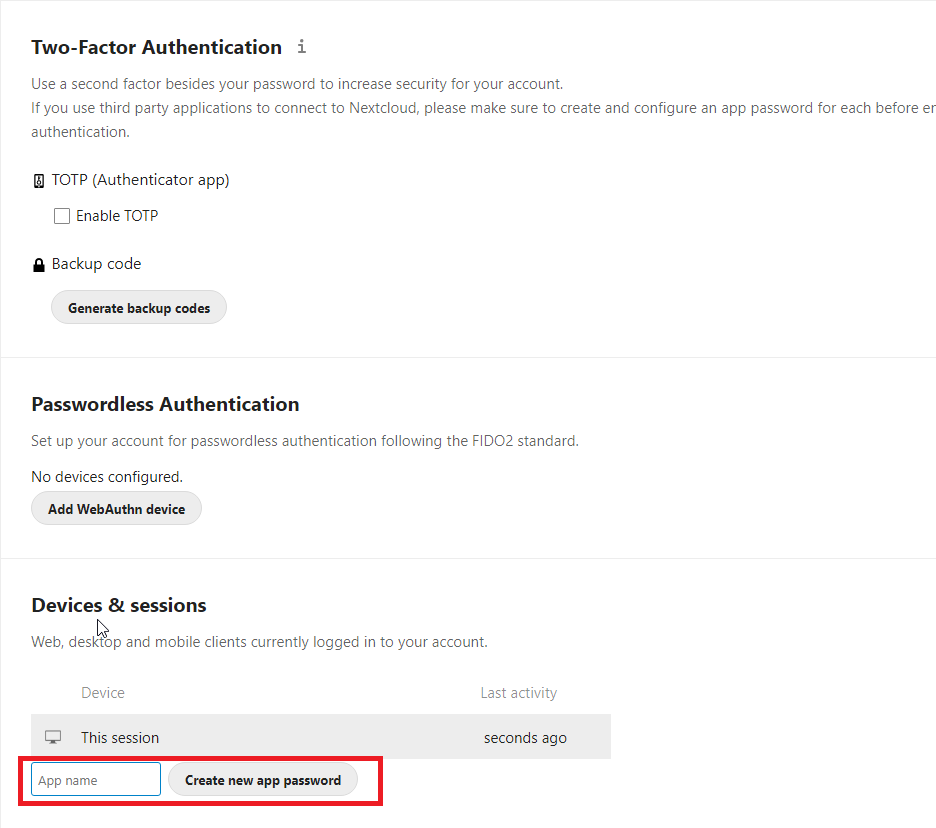
- Under the Devices & sessions section, enter a name of your choosing in the App name field (Example: shared-calendar) and click the Create new app password (Figure 6):
Figure 6
- The system will generate a Username and Password below. Ensure you copy both the username and the password before clicking the Done button because you are going to need them in order to configure Outlook below (Figure 7):
Figure 7

- Next, click on the Calendar icon on the top menu bar (Figure 8):
Figure 8

- Locate the calendar you wish to connect to and click the on the 3 dots
 next to the calendar and on the resultant menu click on Copy private link, ensuring you save the link because you are going to need it to configure Outlook below (Figure 9):

Figure 9

Configure CalDav Synchronizer
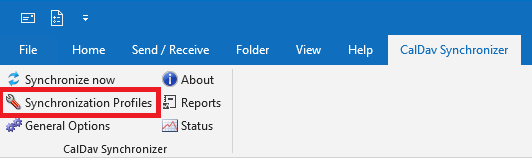
From the Outlook main window, click on CalDav Synchronizer from the top menu (Figure 10).
Figure 10

Next, click on Synchronization Profiles button (Figure 11).
Figure 11
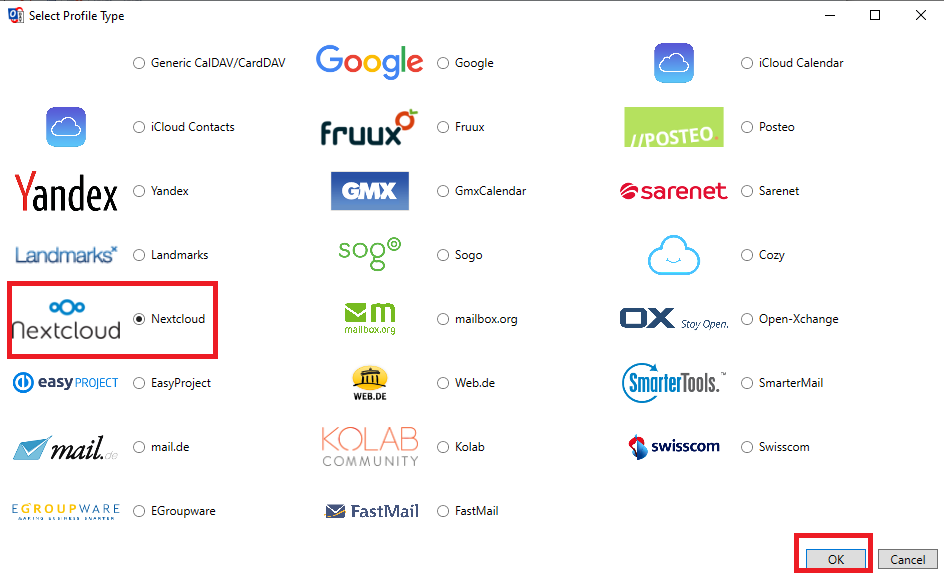
In the CalDav Options window, click the  icon (Add new profile) button and in the Select Profile Type window, select Nextcloud and click OK (Figure 12).
Figure 12
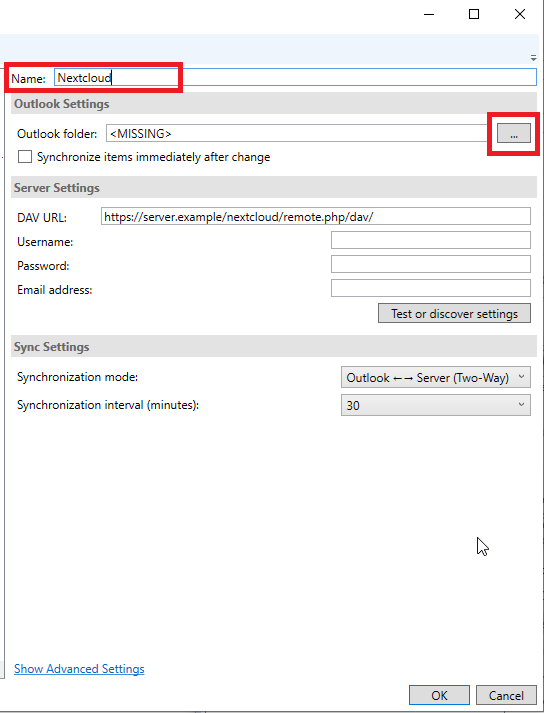
- Back in the Options window, enter a name in the Name section (Example: Nextcloud) and then click on the
 button in the Outlook folder section (Figure 13).

Figure 13
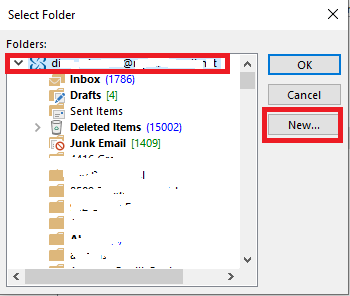
- In the Select folder window, ensure you have selected the top-most folder of that contains your e-mail address and click the New... button (Figure 14):
Figure 14
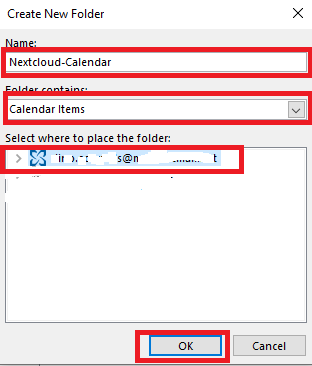
- In the Create New Folder window, enter a name in the Name section (Example: Nextcloud-Calendar), in the Folder contains drop-down ensure you select Calendar Items, in the Select where to place the folder section, ensure you have selected the top-most folder containing your e-mail address and click the OK button (Figure 15):
Figure 15
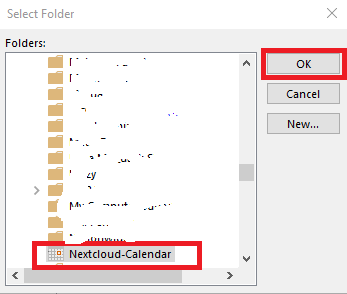
- Back in the Select Folder window, ensure the newly created Nextcloud-Calendar (or whatever name you chose to name your calendar) is selected and click the OK button (Figure 16):
Figure 16
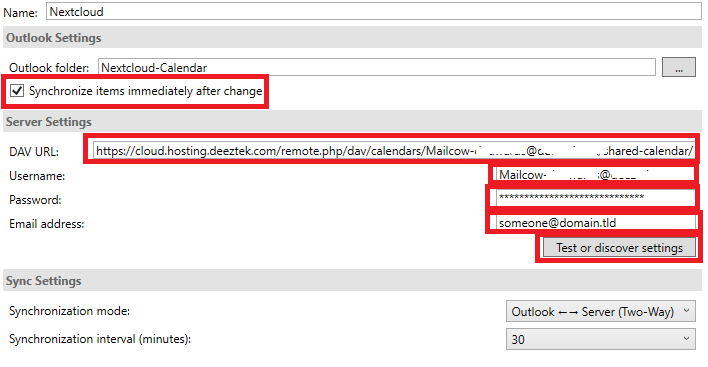
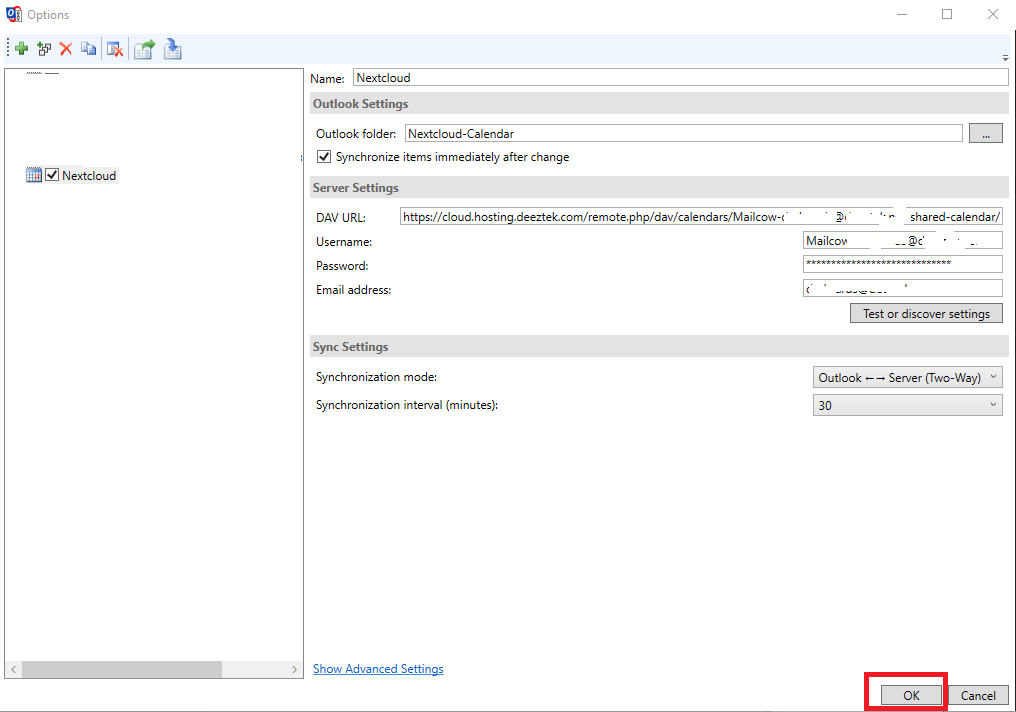
Back in the Options window, check the Synchronize items immediately after change checkbox, in the DAV URL field enter the Private Link you copied from Figure 9 above, in the Username field paste the username you generated from Figure 6 above, in the Password field paste the password you generated from Figure 6 above, in the Email address field enter your e-mail address and click the Test or Discover Settings (Figure 17):
Figure 17
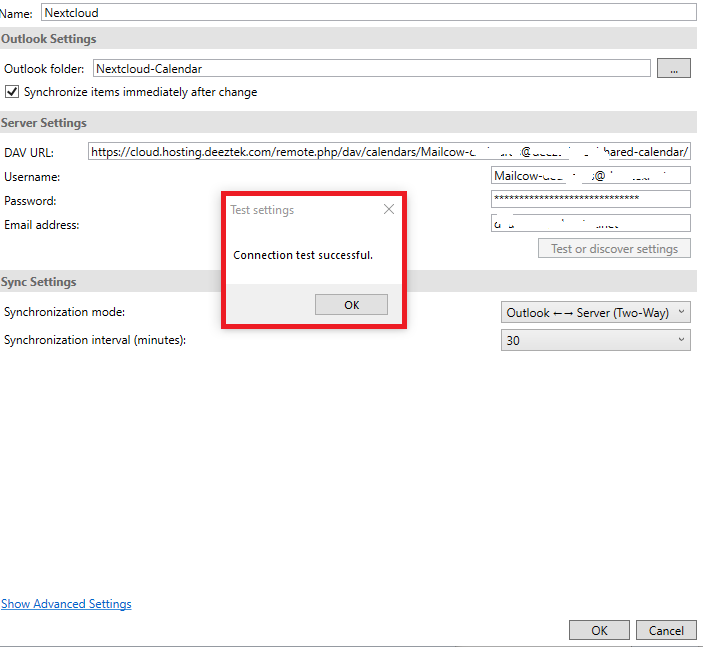
If you entered all information correctly, you should get a Connection test successful pop-up window. Click the OK button on the pop-window (Figure 18):
Figure 18
- Back in the Options window, click the OK button on the bottom right (Figure 19):
Figure 19
- Restart Outlook