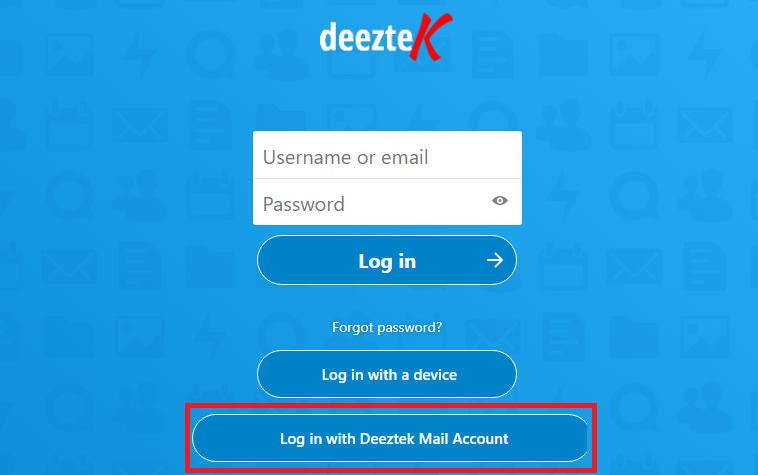
Connect to Deeztek Nextcloud CalDAV Calendar with your Deeztek Hosted Mail Account
Pre-requisites: You must have an account on Deeztek Mail
Figure 1
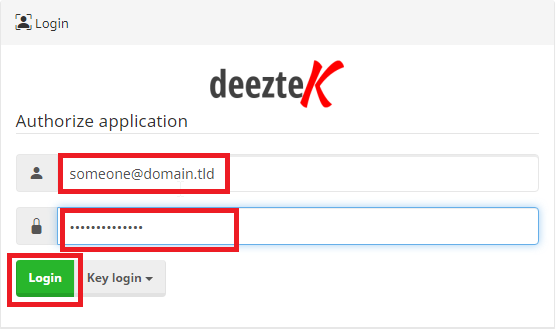
- You will be taken to the Deeztek Mail Authorize application screen. Enter your Deeztek Mail username and password and click the Login button (Figure 2):
Figure 2
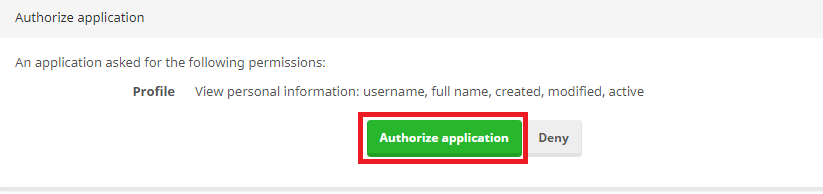
- On the following Authorize application screen, click the Authorize application button (Figure 3):
Figure 3
- Once you click the Authorize application button, you will be logged in to the Deeztek Nextcloud. On the top right menu, click on the
Calendarround icon containing the initials of your name and then click on Settings (Figure4)4):
Figure 4

Figure 5

Figure 6
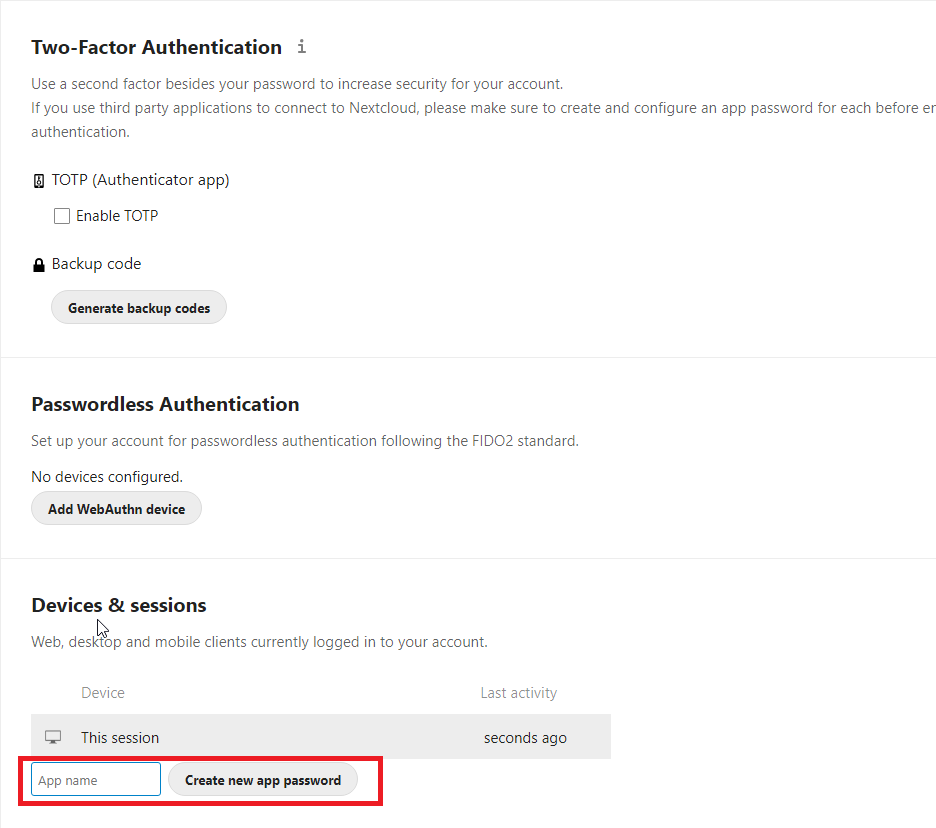
Figure 7

Figure 8

 next to the calendar and on the resultant menu click on Copy private link (Figure 9):
Figure 9
