How to Create a Not Spam Report Button in Outlook
Introduction
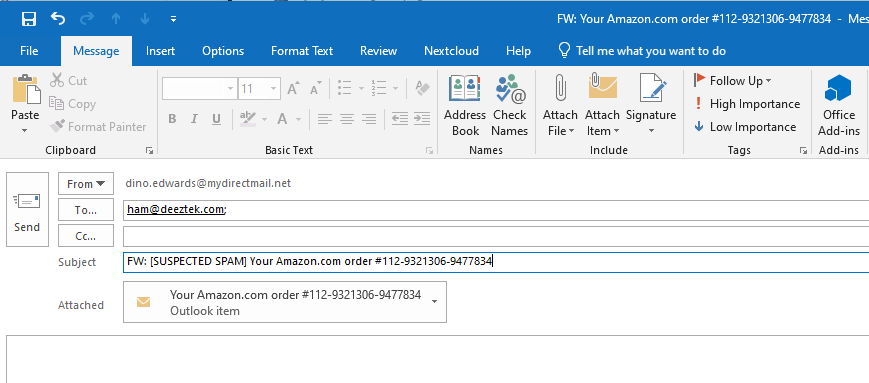
When you receive an e-mail that you believe should not had been marked as [SUSPECTED SPAM], you can typically forward that e-mail as an attachment to our team to ham@deeztek.com. This usually involves selecting the e-mail in question, clicking on More in the Respond Outlook ribbon toolbar, selecting Forward as Attachment (Figure 1) filling out the To field with ham@deeztek.com and clicking Send (Figure 2).
Figure 1
Figure 2
While this is not very time consuming, you can simplify this process by creating a NOT SPAM button in Outlook to speed up the process.
Create a Not Spam Report Button
In the Outlook Quick Steps ribbon toolbar, click on Create New (Figure 3).
Figure 3
In the Edit Quick Step window, set the following:
Set the Name: field to NOT SPAM - DEEZTEK (Figure 4).
Figure 4
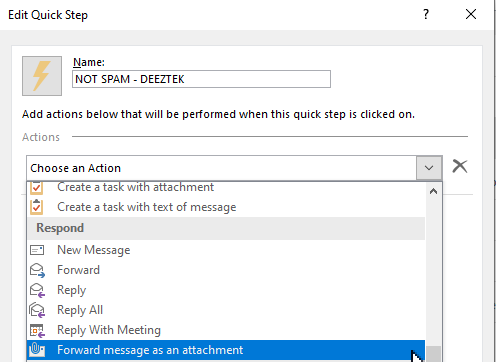
Click the Choose an Action drop-down and select Forward message as an attachment (Figure 5).
Figure 5
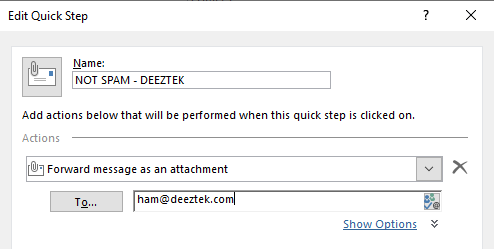
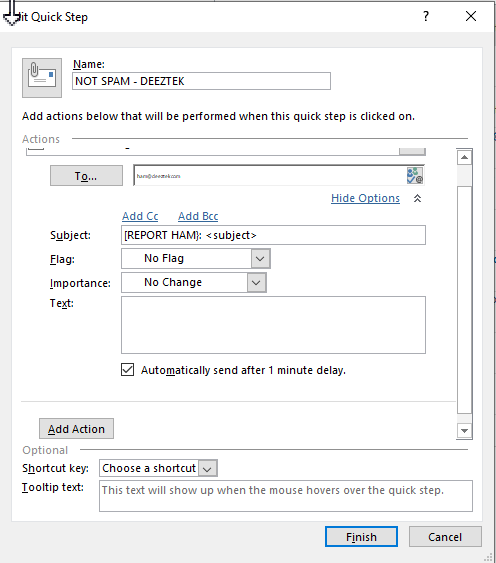
In the To... field enter ham@deeztek.com (Figure 6).
Figure 6
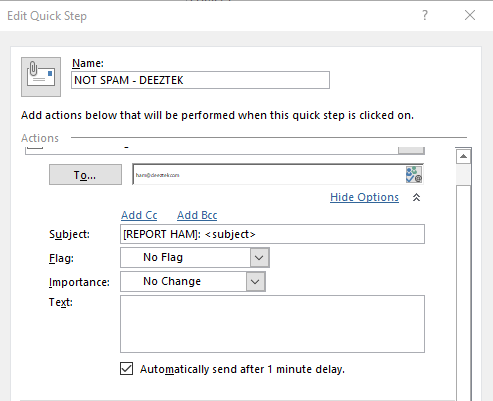
Click on Show Options, in the Subject: field enter [REPORT HAM]: <subject> and check the Automatically send after 1 minute delay checkbox (Figure 7).
Figure 7
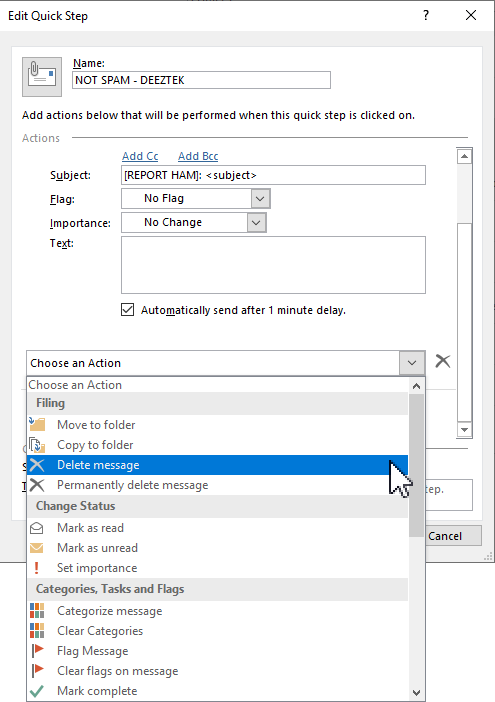
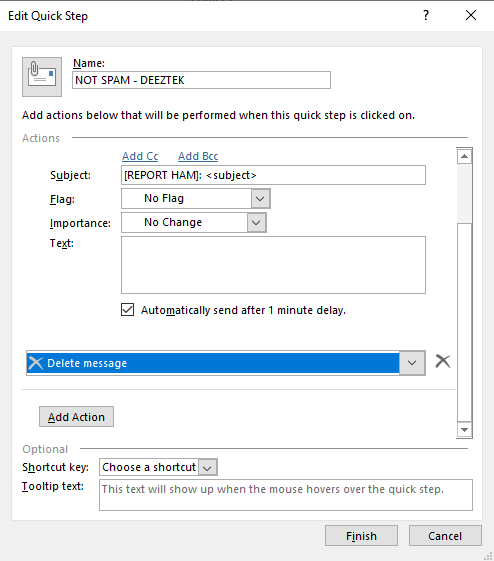
Next,Finally, click on Add Action button and in the Choose an ActionFinish drop-down select the Delete message actionbutton (Figure 8).
Figure 8
Finally, click the Finish button (Figure 9).
Figure 9
Figure 10


