Virtual Recipients
Virtual Recipients are recipients that are not directly mapped to recipient mailboxes. For example, if you have an Internal Recipient joe@domain.tld but you also want the email address joe.smoe@domain.tld to deliver email to joe@domain.tld, you would set up a virtual address of joe.smoe@domain.tld to deliver to joe@domain.tld. Please note, Virtual Recipients are not only limited to Hermes SEG Internal Recipients. You can also create a Virtual Recipient to deliver email to an outside email address not handled by Hermes SEG. In the above example, we can easily setup joe.smoe@domain.tld to deliver to someone@gmail.com.
Note: Any email destined for a virtual recipient are NOT processed by the Bayes Spam Filter. In other words, email will not be checked for spam.
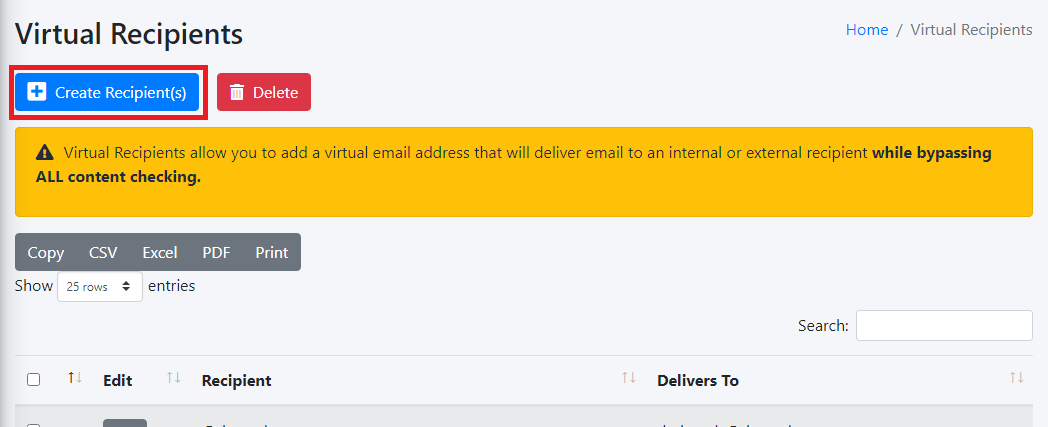
Create Virtual RecipientRecipient(s)
- Click on the Create Recipient(s) button (Figure 1).
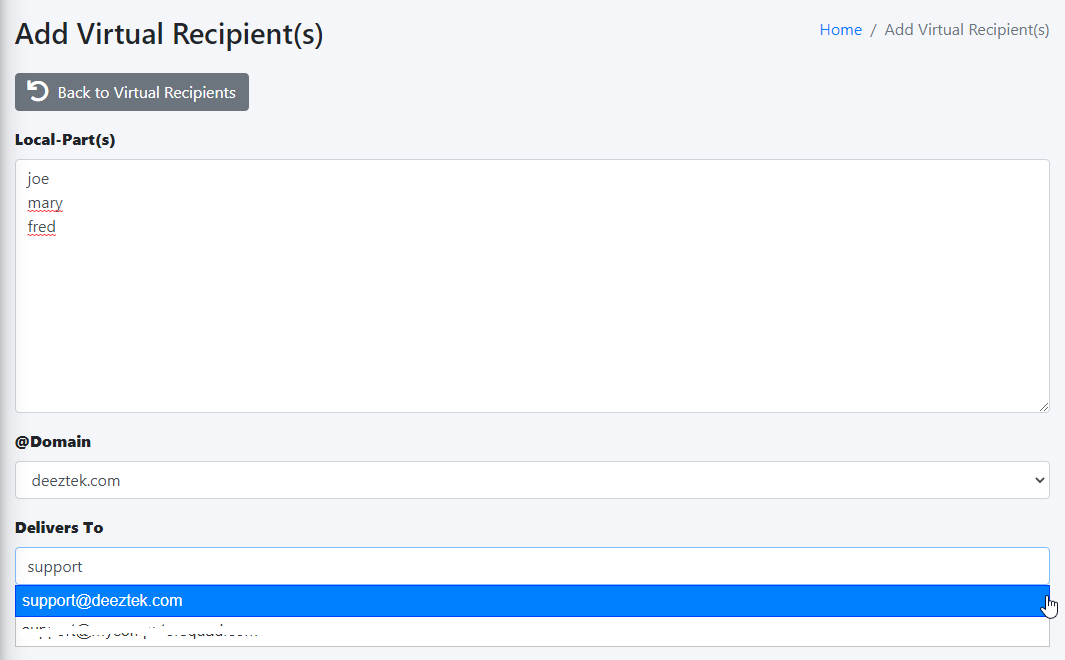
- On the
CreateAdd VirtualRecipientRecipient(s) page, underthetheVirtualLocal-Part(s)virtual@symboladdressof an e-mail address). You can also leave the Local-Part(s) field empty if you wish tocreateforwardwithoutantheentiredomain part.domain. - Under
thethe @Domainassociate the virtual email address with.use. - Under the Delivers to
enterstart typing theemaile-mail address of an existinginternalInternal Recipient and the system will show a drop-down listing of Internal Recipients matching the e-mail address you are typing or enter an externalrecipient.email address. - Click the
CreateSubmit button(Figure 1).
Figure 1
icon.
Figure 1

You will be automatically redirected back to theVirtual Recipientspage with your new Virtual Recipient added to the list(Figure 2).
Figure 2
Edit Virtual Recipient
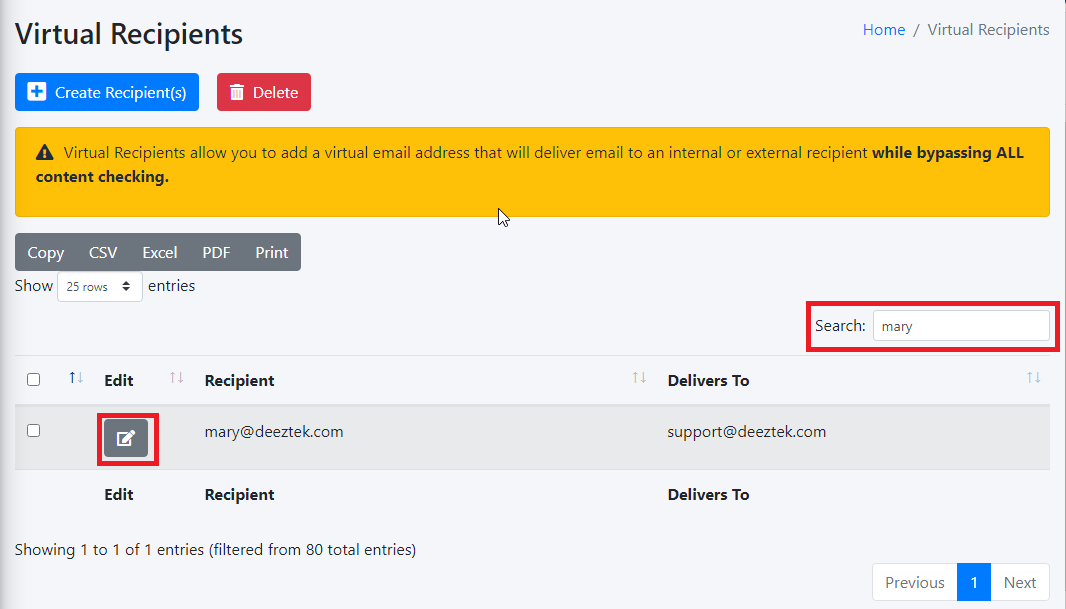
- On the Virtual Recipients page, locate the virtual recipient you wish to edit by typing any part of the e-mail address in the Search: field and then click the
 button next to the virtual recipient (Figure 3).
Figure 3
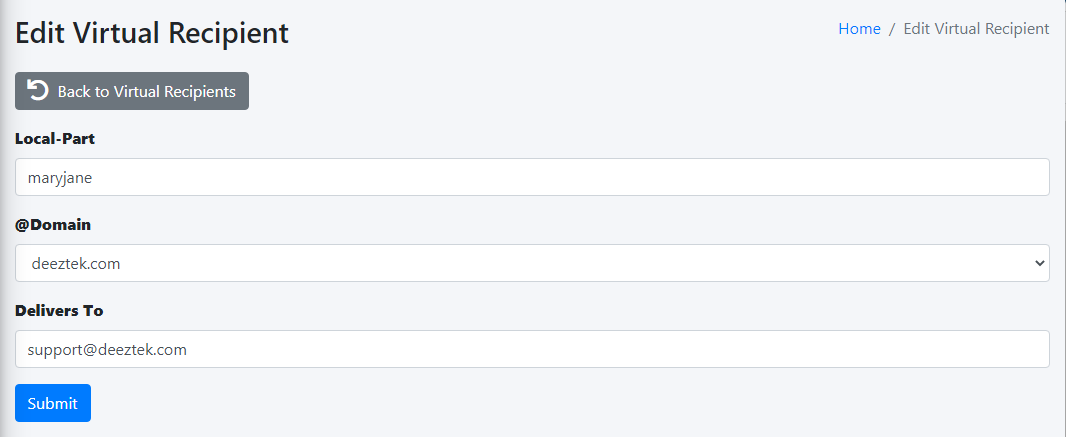
On the Edit Virtual Recipient page, make the necessary changes and click the Submit button (Figure 4).
Figure 4
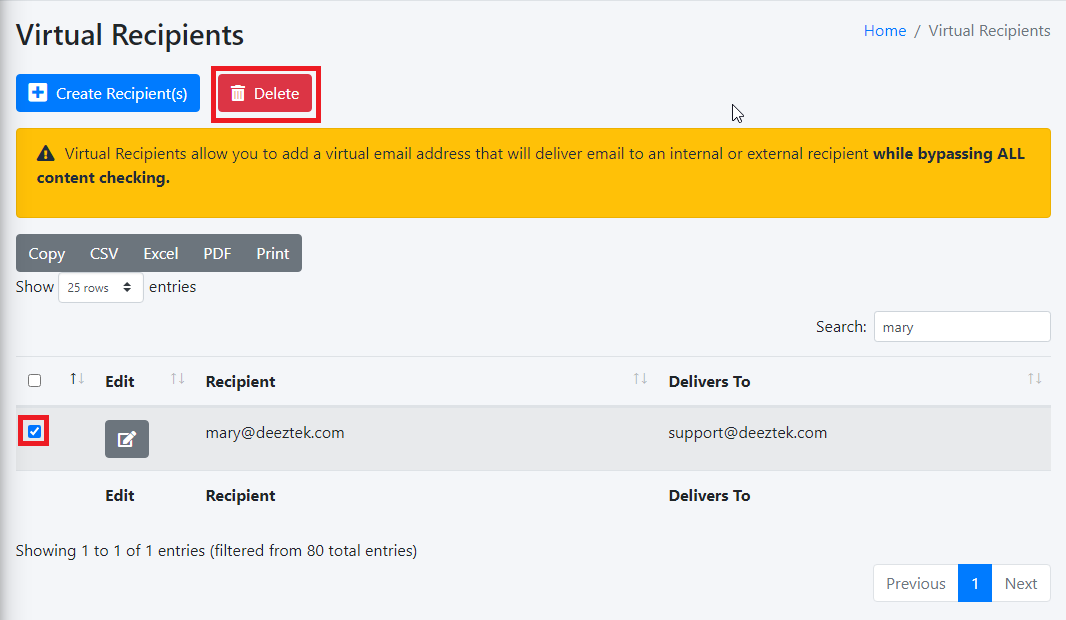
Delete Virtual RecipientRecipient(s)
Note:
When deleting a Virtual Recipient,systemVirtual doesRecipients NOTpage, prompt you for a confirmation. Clicking the delete icon will IMMEDIATELY deletelocate the virtual recipient.
Click on the
icon under the Delete column of the Virtual Recipientrecipient(s) you wish todelete.delete by typing any part of the e-mail address(es) in the Search: field, place a checkmark on the checkbox next to the virtual recipient and then click the Delete button on top of the page (Figure 5).

Figure 5
On the Delete Recipient(s) confirmation page, click the Yes button to delete the recipient or No to cancel (Figure 6)
Figure 6
