Message History
Message History allows you to search, view, release messages to your mailbox as well as block/allow senders.
By default, Message History shows a maximum of 1000 messages sent to your e-mail address over the past 24 hours. The maximum messages limit can be increased by adjusting the Search Results Limit drop-down to 1500, 2500, 5000, 10000 or 15000 messages. Be aware that limits of 10000 or 15000 will significantly increase page loading time (Figure 1):
Figure 1

Search Messages
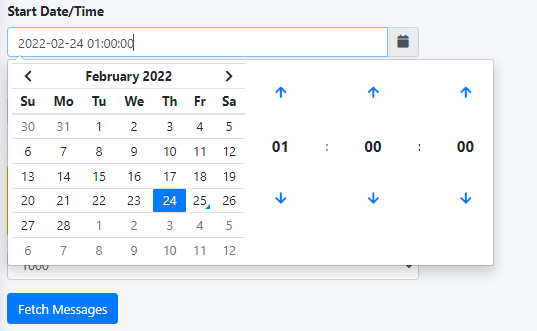
Message History relies on Start Date/Time and the End Date/Time to quickly locate messages. It's important that you have a approximate date and time of the message you are searching for best results.
- Adjust the Start Date/Time and the End Date/Time fields by clicking on the
 icons and adjust the date and time as desired and then click the Fetch Messages button. You can also manually enter the desired date and time (Figure 1):

Figure 1
- Once you have a listing of messages in the desired date/time period, search for the actual message(s) by entering a string or multiple strings separated by a space (E-mail Address, Sender IP Address, Subject, Score, Type or Action) in the Search: field. The system will quickly locate any message(s) that match the string(s) you entered (Figure 2):
Figure 2

Set the Number of Messages to Display
By default the Message History page displays 50 messages at a time. You can select to display 50, 75 or 100 or Show all messages by clicking the Show entries drop-down field (Figure 1).
Figure 1

Sort Messages
All the Column titles in the Message History page can be clicked to sort the messages Ascending (Small to Big) or Descending (Big to Small). Click on the corresponding Column title to sort by the following fields: Archived, Date/Time, Sender IP, Return-Path, From, To, Subject, Score, type or Action (Figure 1):
Figure 1

Release Email Messages to your Mailbox
Releasing messages will instruct the system to deliver the messages selected to your mailbox. This action can be performed for any type of message regardless if the message was initially quarantined. This is useful for releasing lost email or releasing quarantined messages that were never delivered to your mailbox.
The system can ONLY release messages that are not archived. Messages that have been archived cannot be released. They can only be viewed and/or downloaded. You can easily see if a message has been archived by looking at the Archived column in the message listing. If it's set to N, then the message has NOT been archived thus it can be released. If it's set to Y then the message has been archived thus it cannot be released. It can only be viewed or downloaded (provided your administrator has allowed you the capability to download messages).
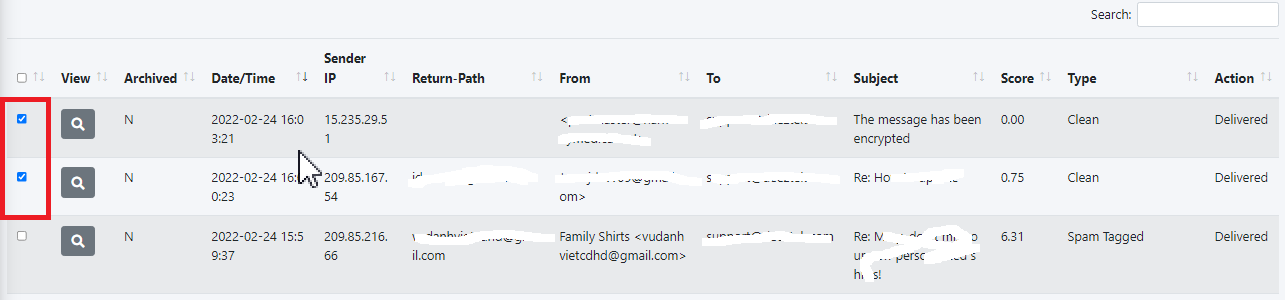
- Place a checkmark the message(s) you wish to release to your Mailbox (Figure 1).
Figure 1
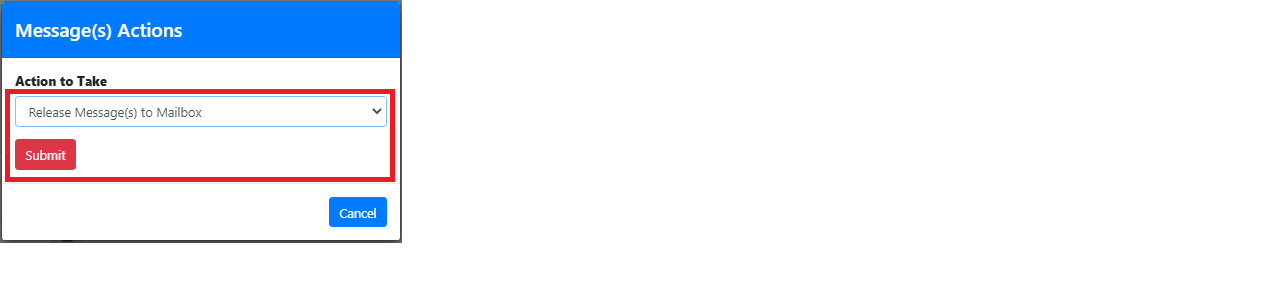
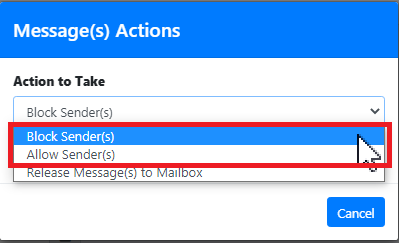
- Click on the Message Actions button on the top-left and on the resultant Message(s) Actions window, select Release Message(s) to Mailbox in the Action to Take drop-down and click the Submit button (Figure 2):
Figure 2
Block & Allow Senders
Block/Allow rules should NOT be used as a method of spam control. Legitimate mass marketing email campaigns should be handled by unsubscribing from those campaigns.
Setting an action of ALLOW will only bypass the sender in the Spam filter. E-mails with banned files or malware will still be blocked. Only your Hermes SEG Administrator can set to allow for those types of e-mails.
- Place a checkmark the message(s) you wish to block/allow (Figure 1).
Figure 1
- Click on the Message Actions button on the top-left and on the resultant Message(s) Actions window, select either Block Sender to block any future incoming e-mails or Allow Sender to allow any future incoming e-mails in the Action to Take drop-down and click the Submit button (Figure 2):
Figure 2
- This will automatically create rules with either a Block or Allow action under the Sender Filters section using the the email address displayed in the Return-Path column as the Sender.
Most marketing/spam email campaigns will auto generate the From email address each time they send out emails. An auto generated email address will look similar to the example below:
d-3-2492042-40004013-2-1-us2-c2bf84fa@aflac-onlineservices.comIn this example, each time an email goes out from this email campaign, the string before the @ (d-3-2492042-40004013-2-1-us2-c2bf84fa) will always be different while the domain string after the @ (aflac-onlineservices.com) will remain the same. Therefore, creating a block/allow rule using the Return-Path email address is pointless since the Block/Allow rule you previously created will not fire next time an email from this marketing campaign gets received since the string before the @ will be different. In these cases, it's recommended to navigate to the Sender Filters part of the documentation and follow the instructions under the Add DomainDomain Sender Check Bypass section in order to create a rule by using the domain string after the @ (aflac-onlineservices.com).
Train the Bayes Database
PleaseThe Note: The ability to Train asthe Spam Bayes Database is disabled by default and the Train as NOT Spam buttons will ONLY be enabled and available for your use if your system Administrator has enabled them.
Example of enabled Train as Spam and Train as NOT Spam buttons (Figure 12)
Figure 12

Example of disabled Train as Spam and Train as NOT Spam buttons (Figure 13)
Figure 13

Plese Note: You should NEVER use legitimate mass marketing emails to train the Bayes Database as Spam. Inversely, you should NEVER use spam emails to train the Bayes Database as non-spam. These actions will corrupt the Bayes Database and lead to the system misidentifying spam and non-spam emails. Additionally, you should avoid training the Bayes Database with forwarded spam emails.
Please
Note: When
Figure 14
Train as Spam
On theHistory & Archivepage, in the message history section, place a check on the checkbox(es) under theSelectcolumn ofspammessage(s)use for trainingtrain the Bayes Databaseand then click on theTrain as Spambuttonwith (Figure151).
Figure 151
Train as NOT Spam
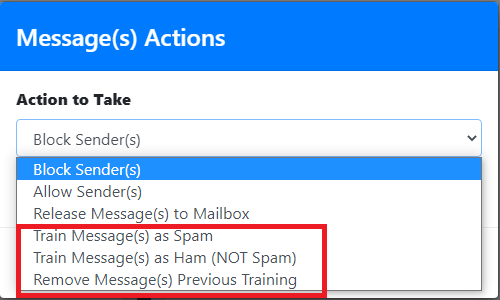
On theMessage History & Archivepage, in the message history section, place a checkClick on thecheckbox(es)MessageunderActionsthebutton on the top-left and on the resultantSelectMessage(s) Actionscolumnofwindow,theselect eitherNONTrainspamAsmessage(Spam, Train as Ham or Remove Message(s)you wishtouse for trainingtrain the BayesDatabasedatabase as desired in the Action to Take drop-down andthenclickonthetheTrainSubmitas NOT Spambuttonbutton (Figure162).:
Figure 162
View & Download Email Messages
On theHistory & Archivepage, under the View column, clickClick on the
 icon of the message you wish to view and/or download. You will be redirected to the View Message page (Figure
 171).
When viewing messages, links and other malicious content is NOT disabled. Ensure you exercise proper caution to prevent any infection on your computer.

When viewing a message, the system automatically disables links and any external content automatically.
Figure 171
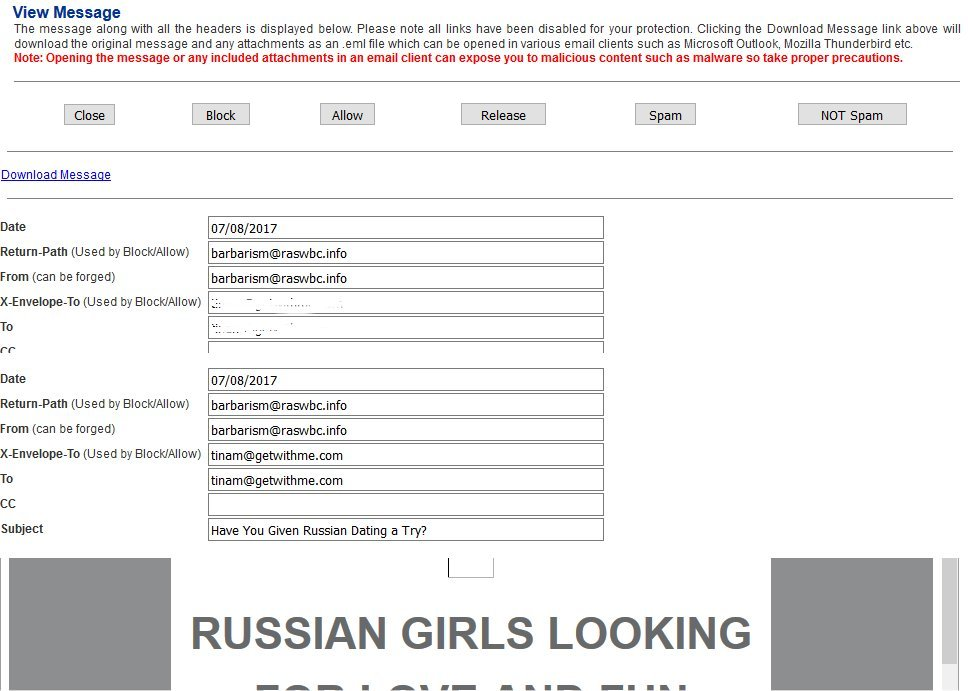
- The View Message page is organized in 5 sections:
- Close - Closes the View Message window.
- Block - Allows you to set a Block Rule for the sender of the message.
- Allow - Allows you to set an Allow Rule for the sender of the message.
- Release - Allows you to release the message to the Internal Recipient mailbox.
- Spam - Allows you to train the Bayes Database with the message as spam (if enabled by your system Administrator).
- NOT Spam - Allows you to train the Bayes Database with the message as Non-Spam (if enabled by your system Administrator) (Figure 18).
Figure 18

Download Message - If enabled by your system Administrator, there will be a Download Message link when you view a message. If not enabled by your system Administrator, the Download Message link will be missing.
Clicking on the Download Message link will allow you to download the message in .eml format which can be opened by an email client such as Outlook (Figure 19).
Use extreme care when downloading messages and/or opening attachments within messages since they may contain malware.
Figure 19
Message Details - This section shows the following headers of the message:
- Date - The date the message was received/sent
- Return-Path - This is the email address that is to be used for non-delivery receipts. This is the header that the system uses in order to create the Block/Allow rules.
- From - This is the email address indicating who the message is from, however this can be easily forged or it can be different from the Return-Path header is the email was sent on the behalf of someone else. This header is NOT used by the system for Block/Allow rules.
- X-Envelope-To - This is the email address of the original recipient based on the SMTP envelope. This is the header that the system uses in order to create the Block/Allow rules.
- To - The email address the message was delivered to. This does NOT always match the final recipient, thus this header is NOT used by the sytem for Block/Allow rules.
- CC - This is the the email address that a copy of the message was also sent to. This header is not necessarily populated.
- Subject - This is the subject header of the message (Figure 20).
Figure 20

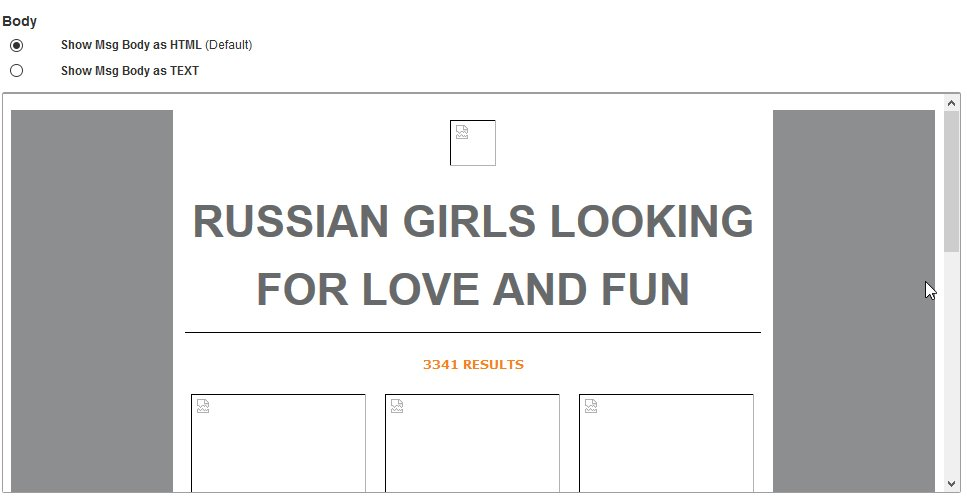
Message Body - This section shows the content inside the body of a message. The body section has two modes to display the body of a message:
- Show Msg Body as HTML - This is the default mode when viewing a message. This mode displays any HTML elements that may be inside the body of a message (Figure 21).
Figure 21
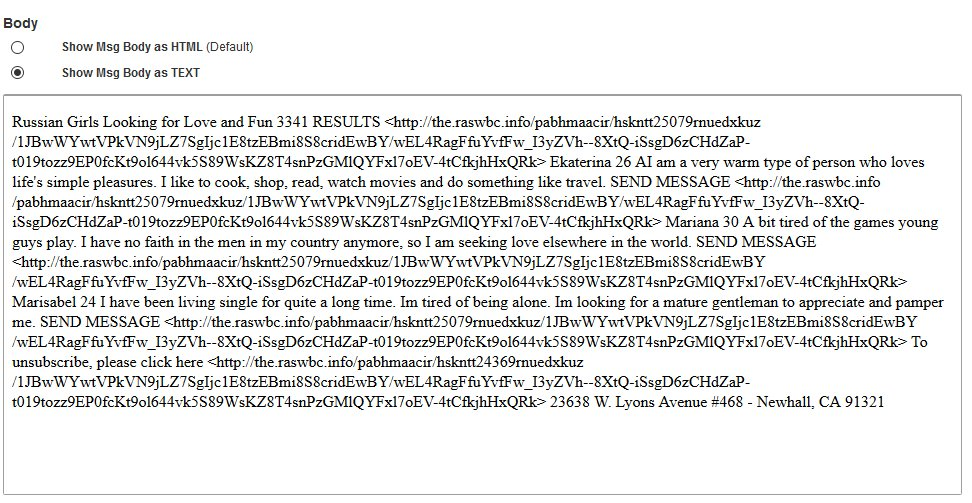
If the message body is blank, the message may not contain HTML elements, in that case try clicking on the Show Msg Body as Text selection.
- Show Msg Body as Text - This mode displays the body of a message in text only (Figure 22).
Figure 22
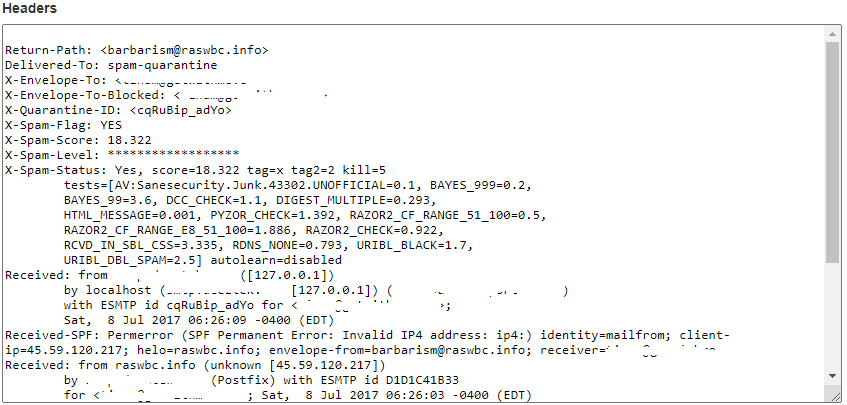
Message Headers - This section shows the message headers which can contain a lot of useful information such as spam score, the antispam filter tests that it scored, the sending email server IP address etc. (Figure 23).
Figure 23