Message History
Hermes SEG keeps a log and a copy of each email message it sends and receives for archiving purposes. The number of log entries and actual messages the system keeps depends on the amount of storage space available on the system. The system automatically starts purging the oldest email logs and email messages once the internal storage reaches 95% capacity.
For a low to medium traffic system, an email archive of up to 5 years is possible assuming that no Email Archive job has been setup in order to free up space. If an email Archive job has been setup, the email archive can become virtually unlimited since the email messages will be stored off the local storage.
Message History Date/Time Range and Message Results Limit
- By default, Message History displays the latest 1000 messages from the day before to the current day. Please note that if your system has processed more than 1000 messages during that time period, the displayed messages will not necessarily encompass that entire date/time rage. The date/time range as well as the number of messages to be displayed can be adjusted by setting the Start Date/Time, End Date/Time, Search Results Limit fields and clicking the Fetch Messages button (Figure 1). Please note setting the Search Results Limit to 10000 or 15000 messages will significantly increase the page loading time. It's best to have approximate dates and times if you wish to search for specific messages.
Figure 1
Sort Messages
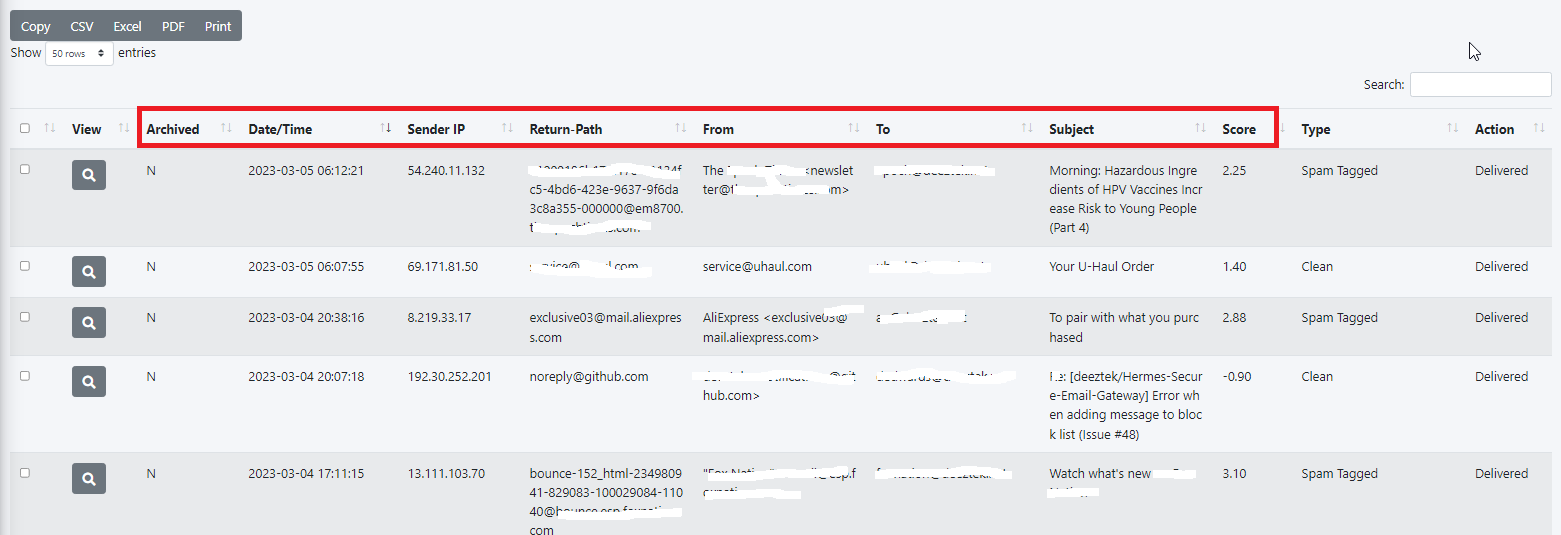
- You can sort messages by ascending or descending values by simply clicking the Archived, Date/Time, Sender IP, Return-Path, From, To, Subject, Score, Type and Action headers of the message results (Figure 2).
Figure 2
Search Messages
- Enter a search term in the Search field and the system will automatically filter messages matching the term you entered. You can enter multiple search terms separated by a space (Figure 3).
Figure 3
Message Actions
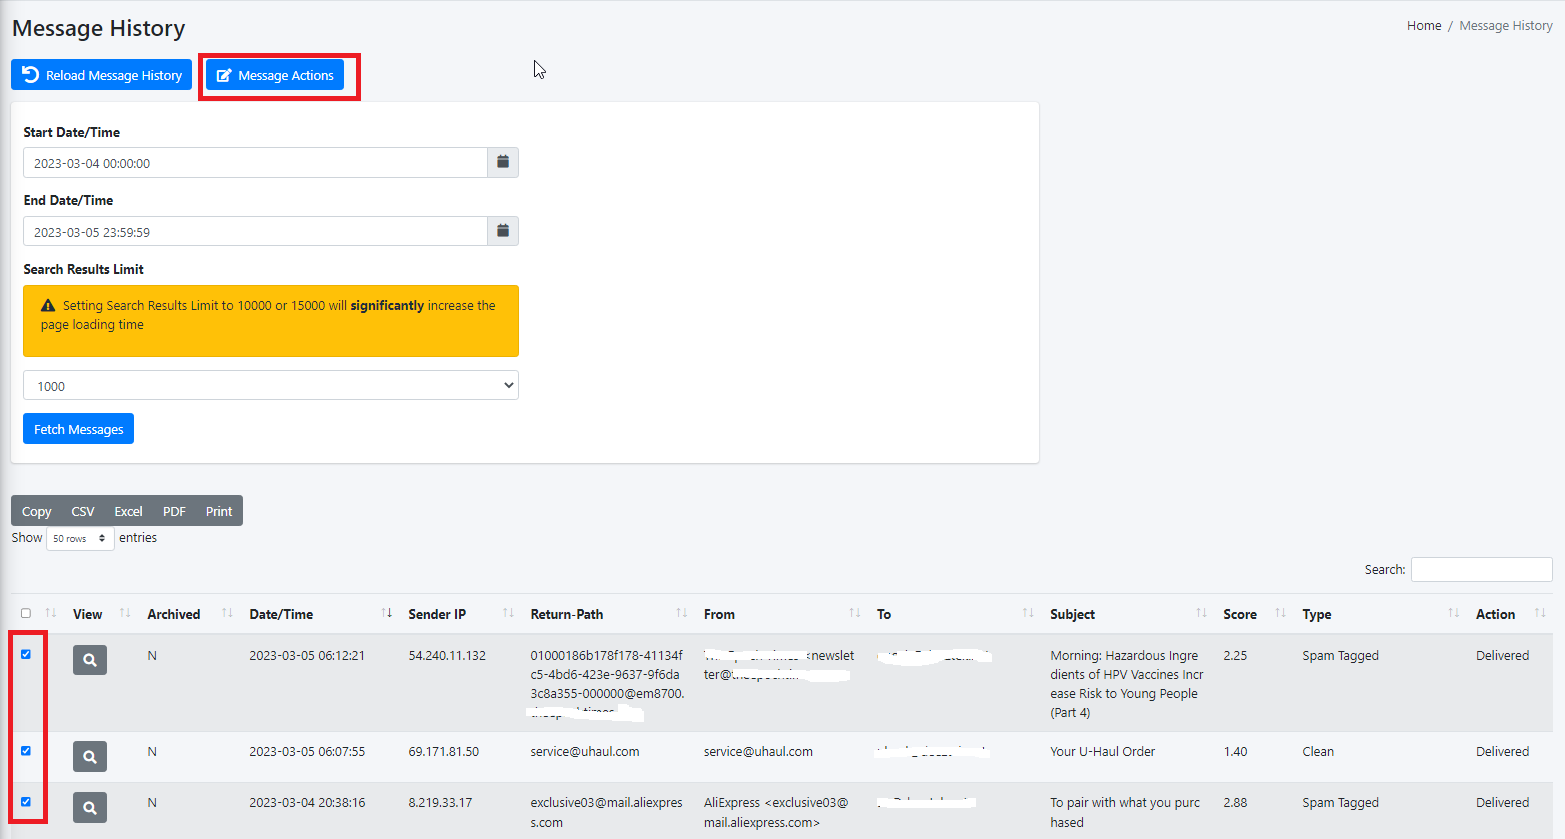
- You can perform actions on messages by placing a checkmark on the checkbox field to left of each message(s) you wish and click on the Message Actions button on top of the page (Figure 4).
Figure 4
- On the resultant menu, select the Action to Take from the drop-down (Figure 5).
Figure 5


