Console SSL Settings
NOTE: This feature is only available with Hermes SEG Pro License.
In this section you can specify a custom 3rd party CA certificate, private key and CA chain for the Administration Console as well as the User Self-Service Portal. Hermes SEG comes pre-configured with a self-signed certificate which is not ideal for a production systems since self-signed certificates generate browser errors. You will need PEM encoded certificates and an unecrypted Private Key.
A PEM encoded certificate is human readeable certificate that starts with:
-----BEGIN CERTIFICATE-----and ends with
-----END CERTIFICATE-----An unecrypted Private Key starts with:
-----BEGIN PRIVATE KEY-----and ends with
-----END PRIVATE KEY-----
1. Certificate
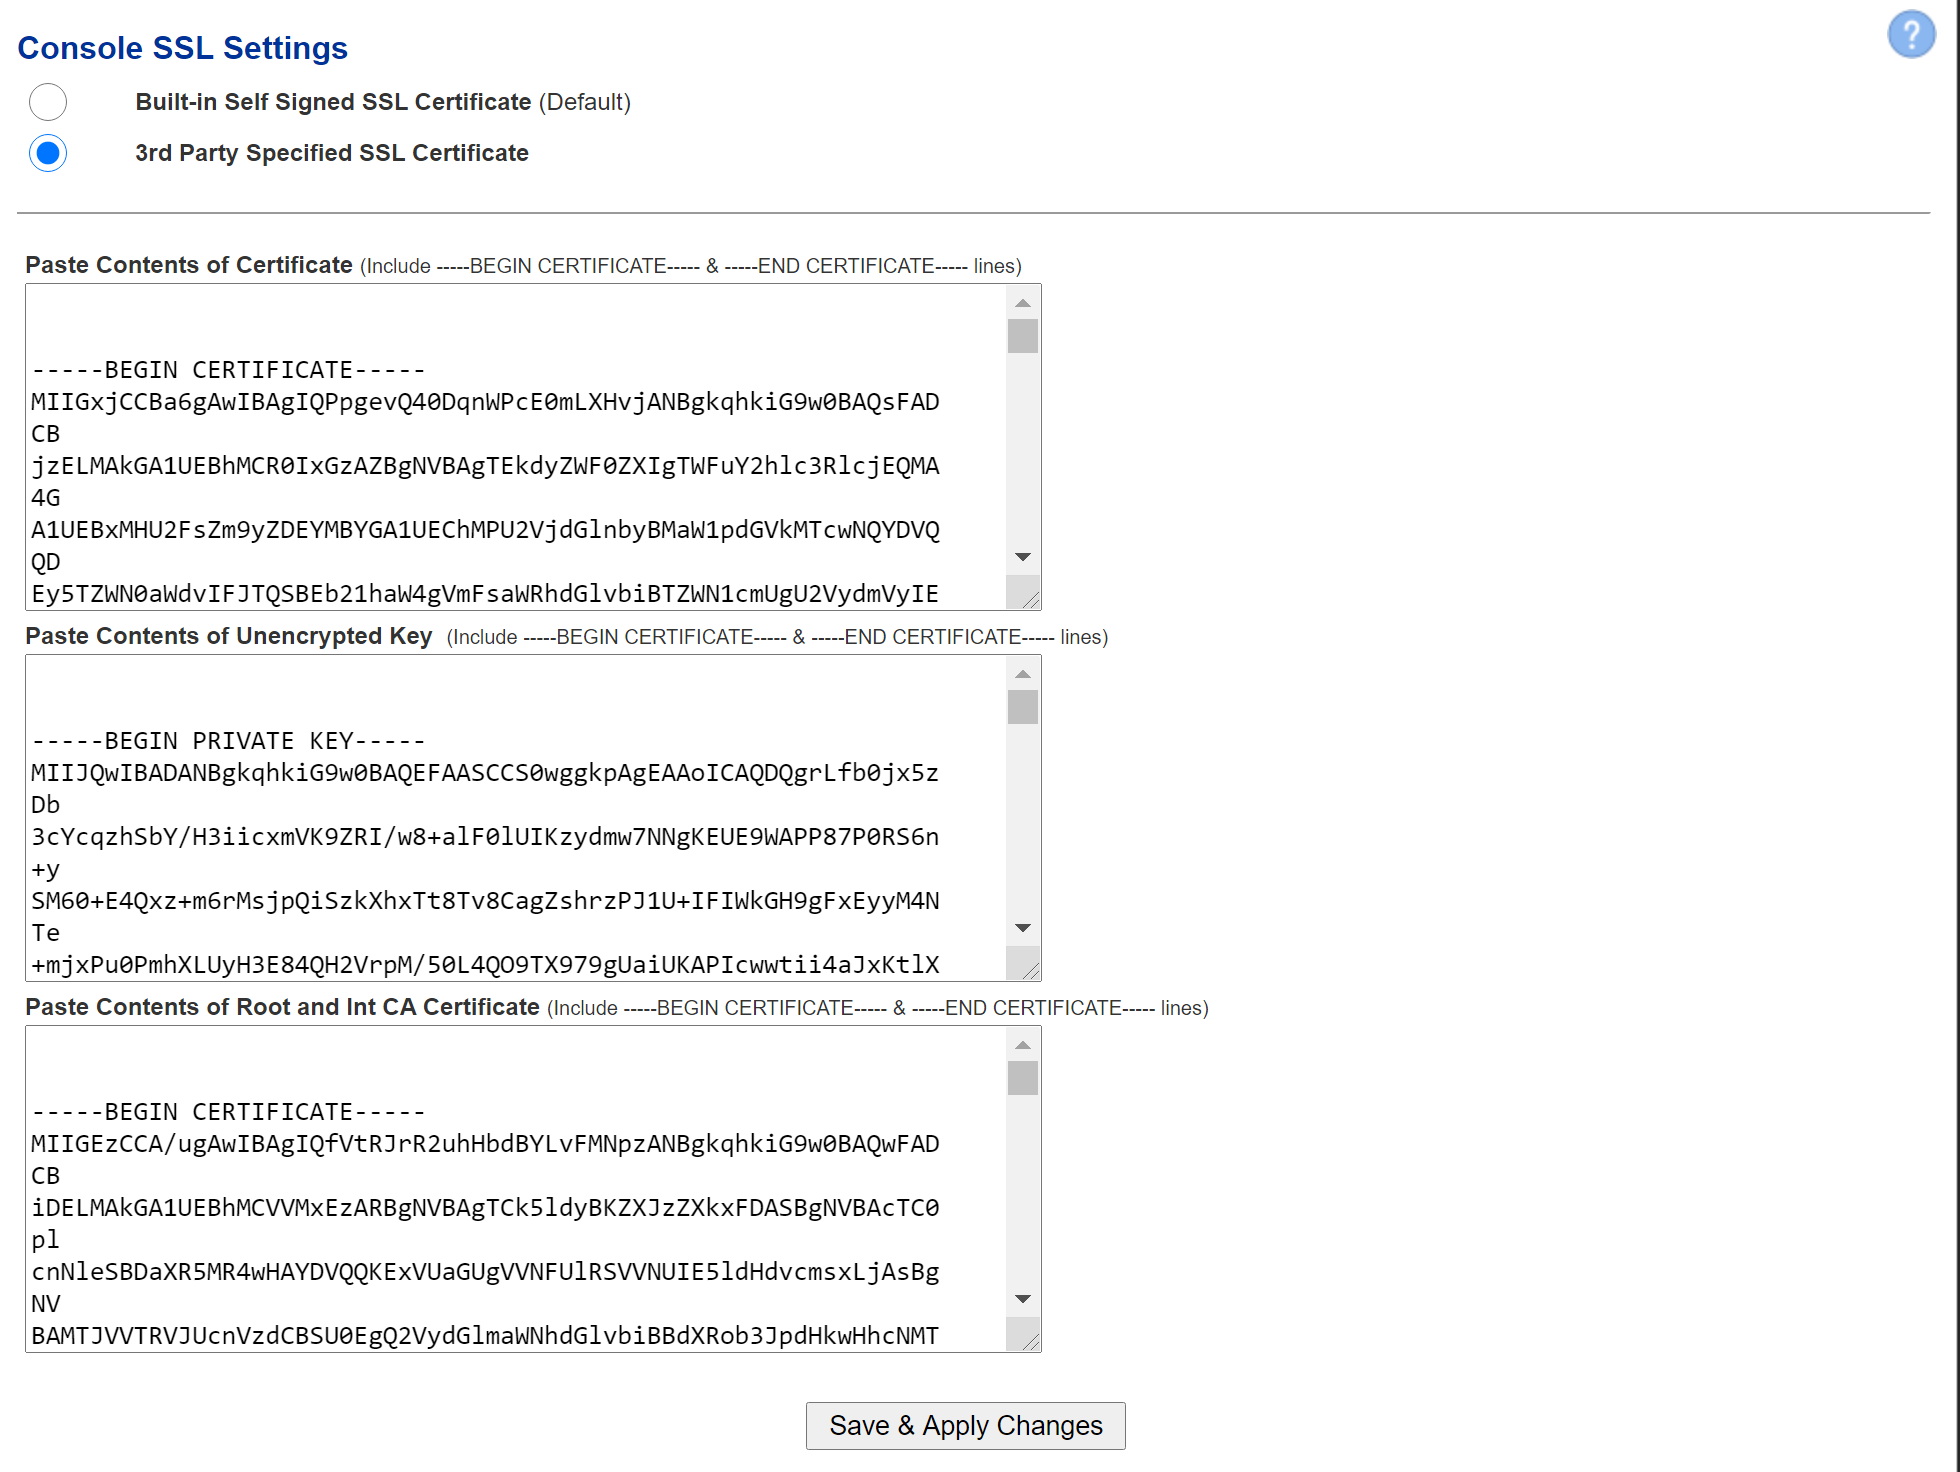
- Under the Console SSL Settings, ensure you select 3rd Party Specified SSL Certificate. Once you make the selection, the Paste Contents of Certificate, Paste Conents of Unencrypted Key and the Paste Conents of Root and and Int CA Certificate fields will become enabled.
- Open your PEM encoded certificate with a text editor and select and copy the entire contents of the file to include the -----BEGIN CERTIFICATE----- and the -----END CERTIFICATE----- lines.
- Under the Paste Contents of Certificate field, delete the existing contents so you are left with an empty field.
- Paste the contents of the file you copied from Step 2 into the empty Paste Contents of Certificate field.
2. Unecrypted Key
- Open your unecrypted key with a text editor and select and copy the entire contents of the file to include the -----BEGIN PRIVATE KEY----- and the -----END PRIVATE KEY----- lines.
- Under the Paste Contents of Unecrypted Key field, delete the existing contents so you are left with an empty field.
- Paste the contents of the file you copied from Step 1 into the empty Paste Contents of Unecrypted Key field.
3. Root and Int CA Certificate
- Open your PEM encoded CA Bundle certificate with a text editor and select and copy the entire contents of the file to include the -----BEGIN CERTIFICATE----- and the -----END CERTIFICATE----- lines. Please note that CA Bundle certificates usually include more than one certificate in a single file, so ensure you select ALL the certificates in the file.
- Under the Paste Contents of Root and Int CA Certificate field, delete the existing contents so you are left with an empty field.
- Paste the contents of the CA Bundle certificate you copied from Step 1 into the empty Paste Contents of Certificate field.
- After pasting all the contents, click on the Save & Apply Changes button (Figure 1).
Figure 1
After you click the Save & Apply Changes button, the system will perform a validation on the certificate, private key and CA bundle combination. If you get a Success!! message, refresh your browser to see your new certificate. If there are errors, verify the contents you pasted in each field especially the Certificate and the Unencrypted Key fields since those seem to be the cause of most errors.