Admin Console Firewall
This feature is only available with Hermes SEG Pro License.
The AdministrationAdmin Console Firewall allows you to specify IP Address(es) that will be allowed access to the the AdministrationHermes Admin Console (/admin/ independendentand ofthe the Ciphermail Admin Console (/ciphermail/). The Firewall does NOT affect the User Self-ServiceConsole Portal(/users/). By default, all IP Addresses are allowed access to the AdministrationAdmin Console as well as the User Self-Service Portal.
The Administration Console is reachable through https://<ipaddress>:9080/admin/ where the User Self-Service Portal is reachable through https://<ipaddress>:9080/users/ where <ipaddress> isand the IPCiphermail addressAdmin or the hostname of your Hermes SEG. By enabling the Administration Console Firewall, you will be restricting access ONLY to the https://<ipaddress>:9080/admin/ address.consoles.
For best security, it's recommended that you enable the Administration Console Firewall to restrict access only to specified IP addresses.
Note: In order to prevent a lockout of the Administration Console, the system will not allow you to enable the Administration Console Firewall unless the IP address that you are accessing the the Administration Console from is in the list of Allowed IP Addresses. Additionally, it will not allow you to Delete the IP address you are accessing the Administration Console from from the list of Allowed IP Addresses.
- Before the system will allow you to enable the firewall, you must first
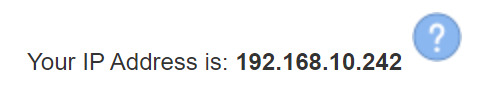
enteradd the IP Address that you are accessing theAdministrationAdmin Console from, which can be found on the top right corner of thepagebynexthoveringtoover theYour IP Address issection icon (Figure 1):
Figure 1
.jpg)

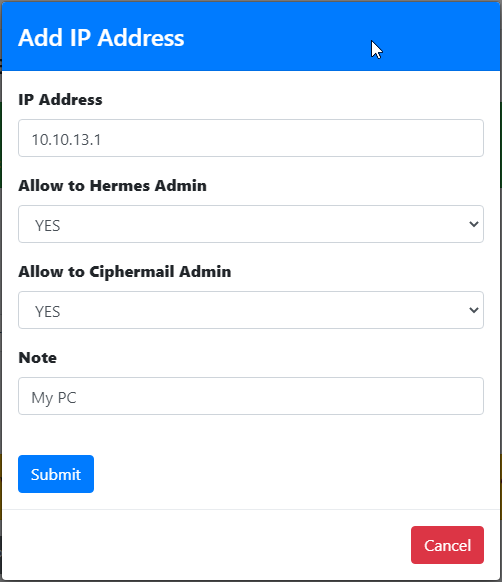
EnterClick on the Add IP Address button and in the resultant window enter your IPAddressaddress and set theunderAllow to Hermes Admin and optionally Allow to Ciphermail Admin drop-downs to YES, enter a note in theIPAddressNotetofieldbeforallowedsectionyour own use andthenclick theAdd IPSubmit button (Figure 2).:
Figure 2
.jpg)
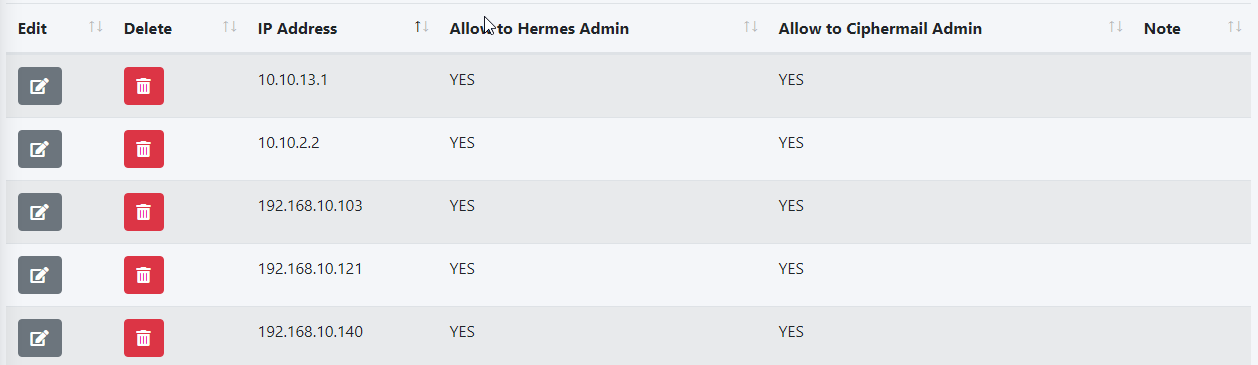
- Repeat
forthe procedure to add any additional IPs asmany IP addresses as required.necessary. - As you add each IP address, they will show up under the Allowed IP Addresses section (Figure 3):
Figure 3
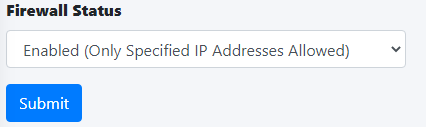
- Once you are finished adding IP address(es),
onset thetop of the page, under theFirewall Statussection,selectdrop-downthetoEnabledEnabledoptionand clickthetheSaveSubmitSettings.:
Figure 4
.jpg)
Click the Apply Settings button to apply the changes to the firewall (Figure 5):
Figure 5

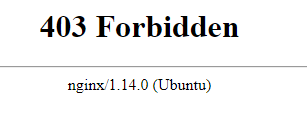
- Test your firewall by attempting to access the
AdministrationAdmin Console at https://<ipaddress>:9080//admin/(where <ipaddress> is the IP address or the hostname of your HermesSEG)SEG from an IP Address that you did NOT allow inAdministrationAdmin Console Firewall. You shouldaaYou403are not authorized to access this systemForbidden message (Figure 5)
Figure 5