Windows
- Bypass Windows 11 TPM Requirement Using Registry
- Enable Windows Directory Services Restore Mode (DSRM)
Bypass Windows 11 TPM Requirement Using Registry
Credit: Avram Piltch, Les Pounder
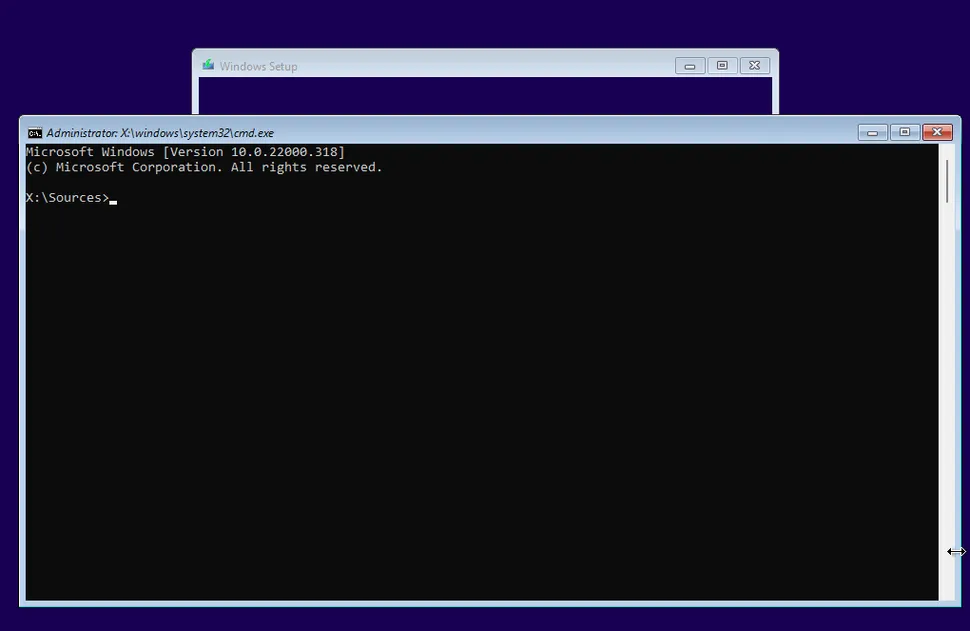
- Boot off of your Windows 11 install disk. If you don't have one, see our story on how to download Windows 11. The first screen should ask you to choose the language of your install (which will probably be correct).
Figure 1

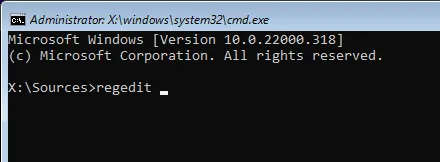
Hit SHIFT + F10 to launch the command prompt.
3. Type regedit and hit Enter to launch registry editor.
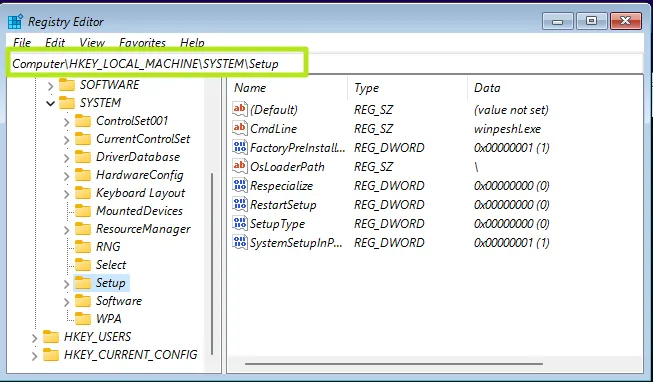
5. Create a new registry key under Setup and name it LabConfig. To create a registry key, right click in the right window pane and select New->Key. Then enter the key name.
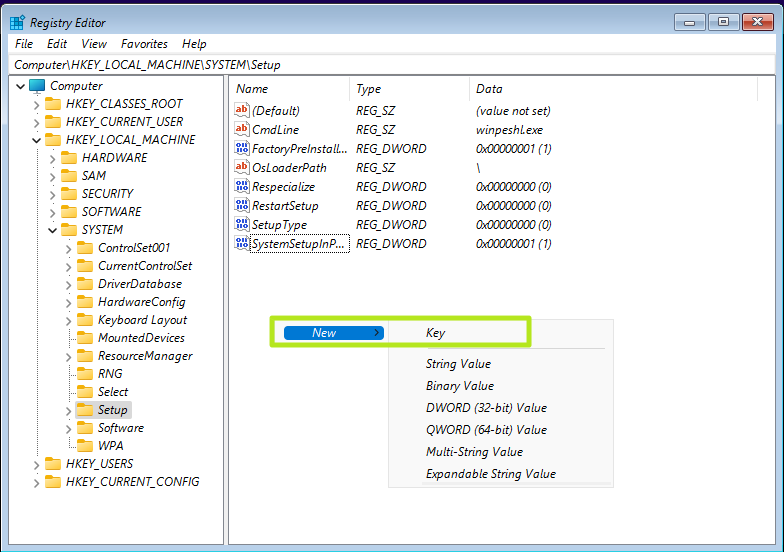
6. Within LabConfig, create DWORDs values called BypassTPMCheck and BypassSecureBootCheck and set each to 1. To create a new DWORD value, right click in the right window and select new DWORD (32-bit) Value then name the key, double click to open it and set it to 1.

If you also want to bypass the RAM requirement, add a DWORD values for BypassRAMCheck.
7. Close regedit and the command prompt.
You should be able to continue with your Windows 11 installation as normal.
Enable Windows Directory Services Restore Mode (DSRM)
Boot with Windows Boot CD/ISO and when you see Install now, click on Repair your computer → Troubleshoot → Command Prompt.
-
Find the Windows volume (usually
C:):-
dir C:\Windowsto confirm it exists.
-
-
Tell Windows to boot into Directory Services Restore Mode (DSRM) on the next boot:
-
bcdedit /set {default} safeboot dsrepair
-
Close the Command Prompt and reboot the machine. On next boot, the DC should start in Directory Services Restore Mode. Log on using the DSRM password you set when promoting the DC (local, not domain). Enter the username as .\\Administrator.
Once you’ve fixed whatever issues and want normal startup again:
-
From an elevated Command Prompt inside Windows on that DC, run:
-
bcdedit /deletevalue {default} safeboot
-
Then reboot; it will go back to normal DC mode.