Install OnlyOffice Document Server Ubuntu 18.04
Add the repository containing the up-to-date Node.js package versions:
curl -sL https://deb.nodesource.com/setup_8.x | sudo bash -Install postgresql:
apt install postgresqlCreate Database (Type each command seraparately):
/usr/bin/sudo -i -u postgres psql -c "CREATE DATABASE onlyoffice;"
/usr/bin/sudo -i -u postgres psql -c "CREATE USER onlyoffice WITH password 'onlyoffice';"
sudo -i -u postgres psql -c "GRANT ALL privileges ON DATABASE onlyoffice TO onlyoffice;"
Install Redis:
sudo apt-get install redis-serverInstall rabbitmq:
sudo apt-get install rabbitmq-serverInstall nginx-extras:
sudo apt-get install nginx-extrasInstall Document Server (Type each command seraparately):
sudo apt-key adv --keyserver hkp://keyserver.ubuntu.com:80 --recv-keys CB2DE8E5
sudo echo "deb http://download.onlyoffice.com/repo/debian squeeze main" | sudo tee /etc/apt/sources.list.d/onlyoffice.list
sudo apt-get update
sudo apt-get install onlyoffice-documentserver
Note: During the installation process, you will be prompted with the following screen (Figure 1):
Figure 1
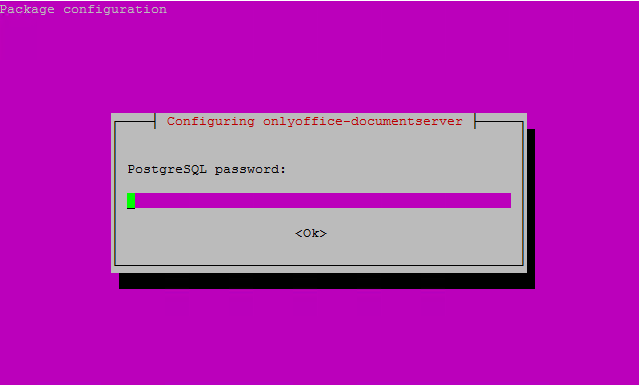
Please enter the onlyoffice password that you have specified when configuring PostgreSQL.
Rebuild spellchecker (Ubuntu 18.04):
Update npm:
sudo npm install -g npmStop Document Server services:
sudo supervisorctl stop allInstall the components necessary for the build:
sudo apt-get install build-essential gitSwitch to the spellchecker folder:
cd /var/www/onlyoffice/documentserver/server/SpellChecker/Delete the older build:
sudo mv node_modules/ node_modules_old/Install the dependencies:
sudo npm installAnd finally start back Document Server services:
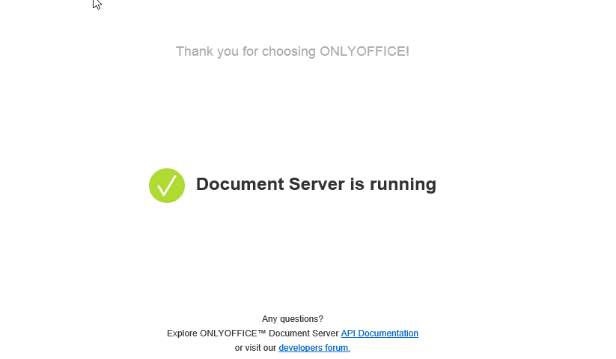
sudo supervisorctl start allVerify that OnlyOffice Document Server is running:
Using a browser browse to the IP address of the OnlyOffice Document server Ex: http://192.168.xxx.xxx. You should get the following page (Figure 2):
Figure 2
Configure OnlyOffice Document Server to use HTTPS:
Stop NGINX service:
sudo service nginx stopCreate /etc/nginx/ssl directory to store certificates and keys:
mkdir /etc/nginx/sslObtain the necessary certificates and keys from a 3rd party trusted Certificate Authority before going further
Place 3rd party certificate and key in /etc/nginx/ssl directory as below:
/etc/nginx/ssl/office.pem
/etc/nginx/ssl/office.key
Backup existing ds.conf file:
cp /etc/onlyoffice/documentserver/nginx/ds.conf /etc/onlyoffice/documentserver/nginx/ds.conf.BACKUPCopy ds-ssl.conf.tmpl to ds.conf:
cp /etc/onlyoffice/documentserver/nginx/ds-ssl.conf.tmpl /etc/onlyoffice/documentserver/nginx/ds.confEdit new ds.conf file and replace all parameters with double curly brackets {{ }} for the actual values:
vi /etc/onlyoffice/documentserver/nginx/ds.conf- ssl_certificate {{SSL_CERTIFICATE_PATH}};
- ssl_certificate_key {{SSL_KEY_PATH}};
So it looks like below:
ssl_certificate /etc/nginx/ssl/office.pem;
ssl_certificate_key /etc/nginx/ssl/office.key;
Additionally, edit the ssl_protocols line and remove all but TLSv1.2 entries so it looks like below:
ssl_protocols TLSv1.2;Start NGINX service:
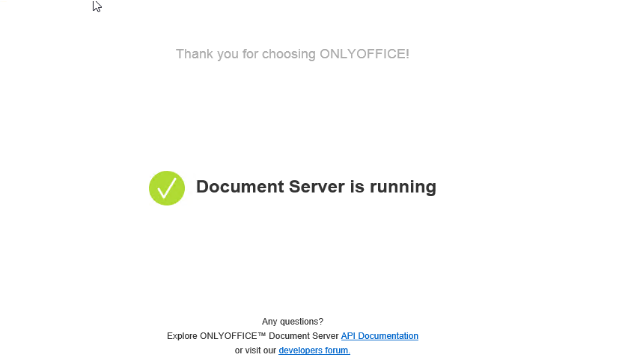
sudo service nginx startVerify that OnlyOffice Document Server is running on HTTPS:
Using a browser browse to the IP address of the OnlyOffice Document server Ex: https://192.168.xxx.xxx. You should get the following page (Figure 3):
Figure 3