Configure Outlook for Hosted Mail using IMAP and CalDav Synchronizer
Outlook 2016 or higher from Office 365 on Windows
If you installed Outlook 2016, Outlook 2019 or Outlook for Office 365 from Office 365 (i.e. downloaded and installed from Office 365), please be advised that those versions of Outlook have an issue with autodiscover. Because of this, you must first disable the Simplified Account Creation wizard in order to setup your mailbox with our Hosted Mail.
Disable Simplified Account Creation wizard
You can disable the Simplified Account Creation wizard by following the instructions outlined at the link below:
Alternatively, you can download and import the disable_simplified_account_creation_wizard.reg to your computer.
Download and install the latest version of CalDav Synchronizer
Extract the downloaded zip and then install CalDav synchronizer using the included setup.exe.
Configure Outlook
Start Outlook
If this is the first time starting Outlook, the Auto Account Setup window will automatically launch.
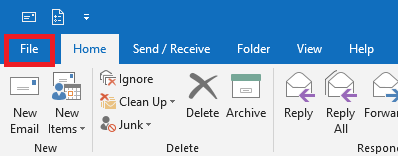
If this is NOT the fist time starting Outlook, click on File on the upper left-hand corner (Figure 1).
Figure 1
Click on Account Settings, and then click Manage Profiles (Figure 2).
Figure 2

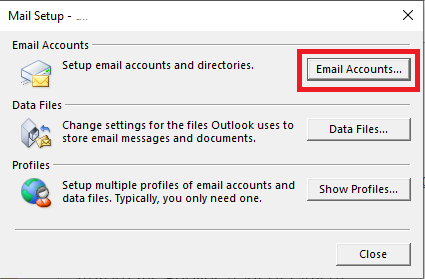
In the Mail Setup window, click on Email Accounts... (Figure 3)
Figure 3
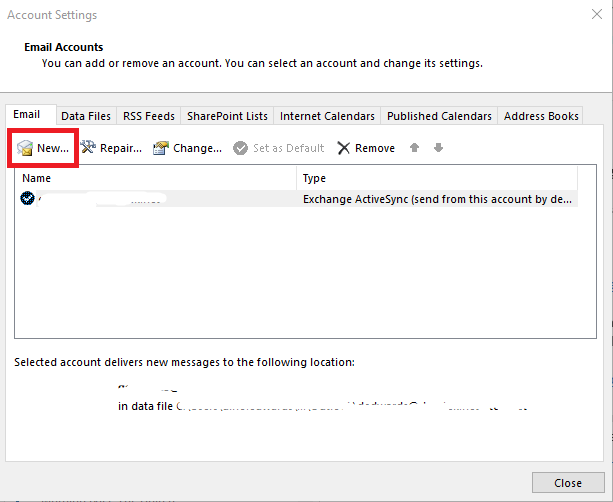
In the Email Accounts window, click on New... (Figure 4).
Figure 4
In the Auto Account Setup window, select Manual setup or additional server types and click Next (Figure 5).
Figure 5

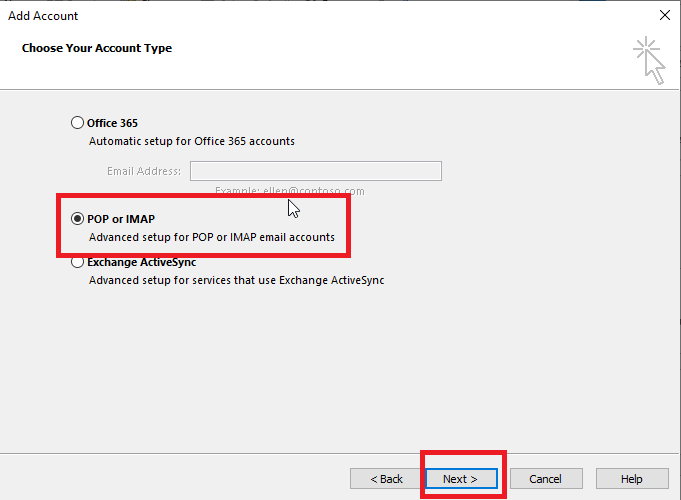
On the Choose Your Account Type window, select POP or IMAP and click Next (Figure 6).
Figure 6
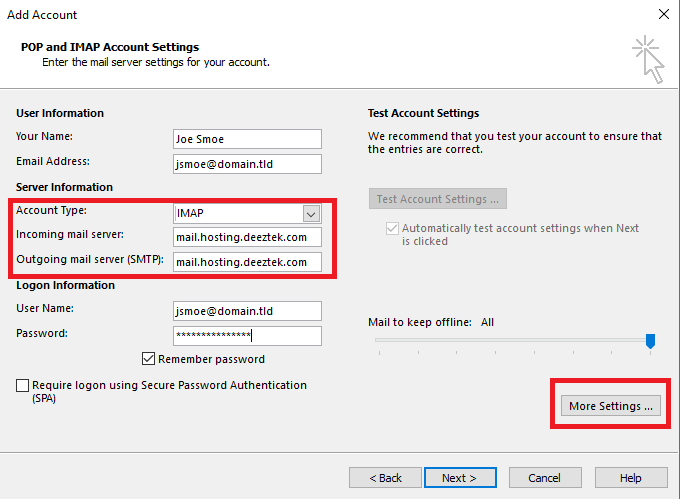
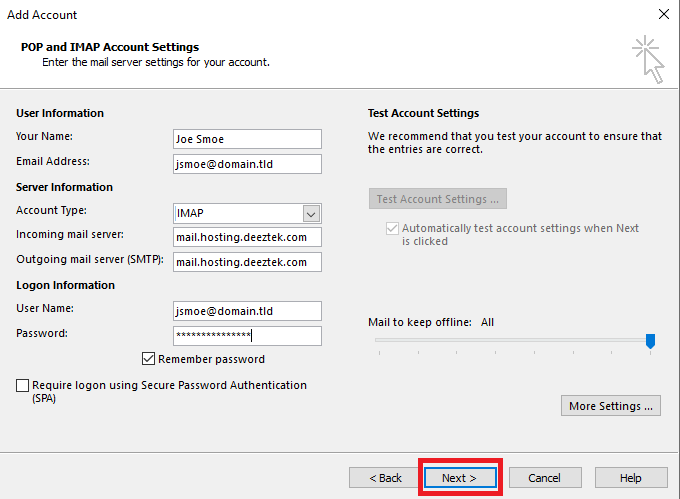
On the POP and IMAP Account Settings window, fill out the all fields ensuring you set the the Account Type drop-down to IMAP, the Incoming mail server and the Outgoing mail server (SMTP) fields to mail.hosting.deeztek.com and click the More Settings ... button (Figure 7):
Figure 7
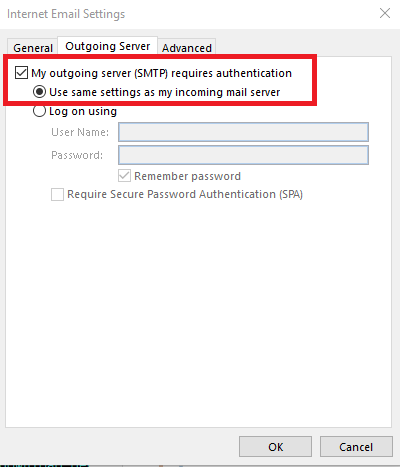
On the Internet Email Settings window, click on the Outgoing Server tab, place a check mark on My ougoing server (SMTP) requires authentication and ensure Use same settings as my incoming mail server (Figure 8).
Figure 8
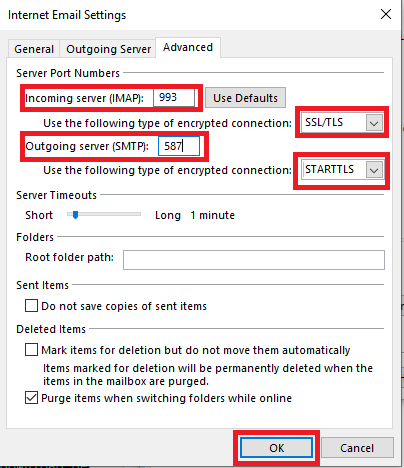
Next, click on the Advanced tab, and in the Incoming server (IMAP) field enter 993, on the Use the following type of encrypted connection drop-down select SSL/TLS, on the Outgoing server (SMTP) field, enter 587, on the Use the following type of encrypted connection drop-down select STARTTLS and then click the OK button (Figure 9).
Figure 9
Back on the POP and IMAP Account Settings window, click the Next button (Figure 10).
Figure 10
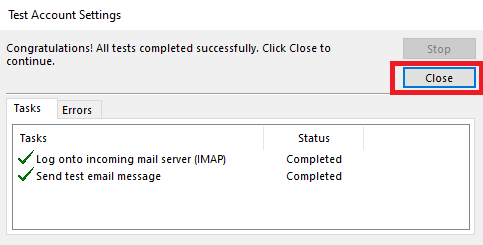
Outlook will test the incoming mail server and attempt to send a test email message. If everything goes well, you should see the following Test Account Settings window with checkmarks for each successful test. Click the Close button (Figure 11).
Figure 11
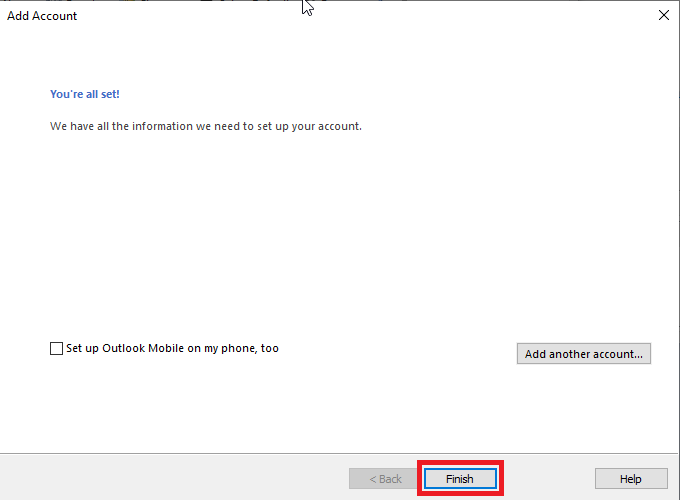
On the following window, click the Finish button (Figure 12).
Figure 12
Configure CalDav Synchronizer
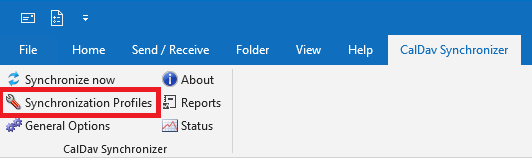
From the Outlook main window, click on CalDav Synchronizer from the top menu (Figure 13).
Figure 13

Next, click on Synchronization Profiles button (Figure 14).
Figure 14
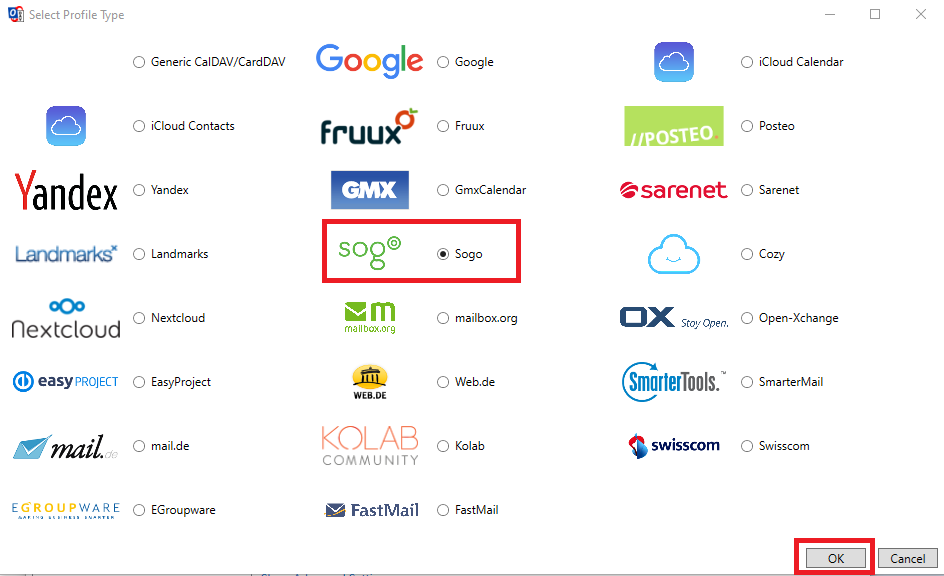
In the CalDav Options window, click the  (Add multiple profies) button and in the Select Profile Type window, select Sogo and click OK (Figure 15).
Figure 15
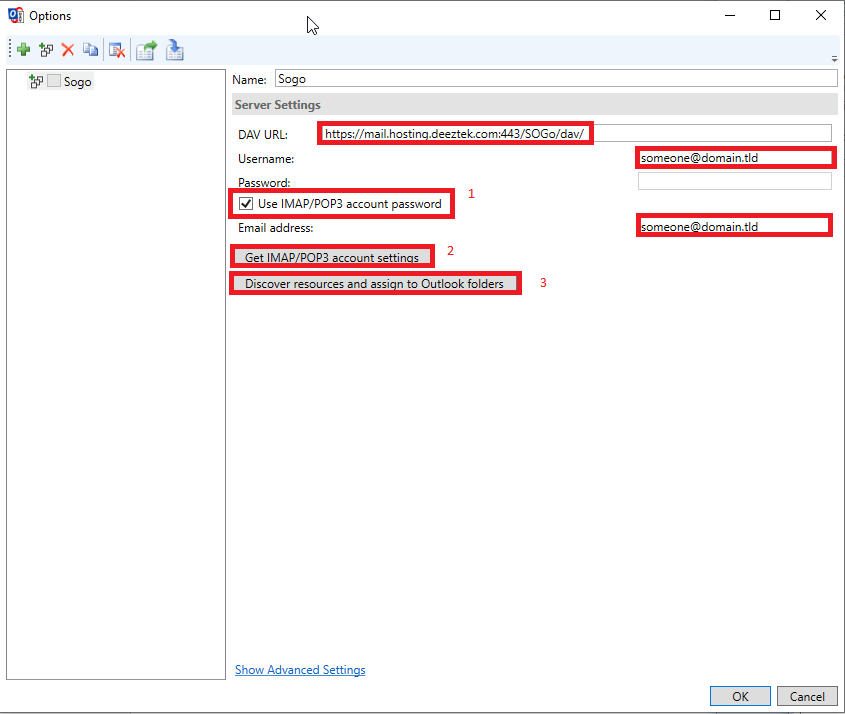
Back in the Options window under Server Settings section, place a checkbox on Use IMAP/POP3 account password (1) and then click the Get IMAP/POP3 account settings button (2). It should automatically fill in the DAV URL, Username and Email address fields. Next, click on the Discover resources and assign to Outlook folders button (3) (Figure 16).
Figure 16
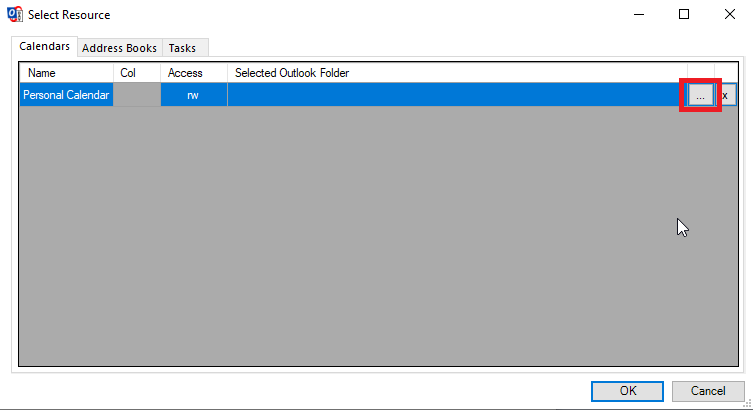
In the Select Resource window, in the Calendars tab, click the  button to the right of the Personal Calendar (Figure 17).
Figure 17
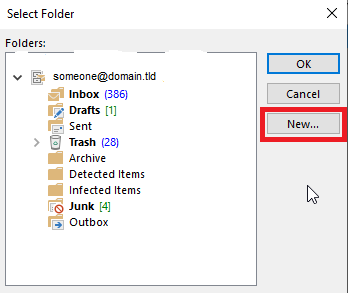
In the Select Folder window, click the New... button (Figure 18).
Figure 18
In the Create New Folder window, under the Name field enter Calendar, under the Folder contains drop-down select Calendar Items ensure you have selected the correct e-mail account under the Select where to place the folder section and click the OK button (Figure 19).
Figure 19

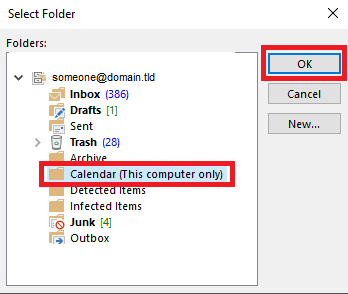
Back in the Select Folder window, you should have a new folder named Calendar (This computer only), select it and click the OK button (Figure 20).
Figure 20
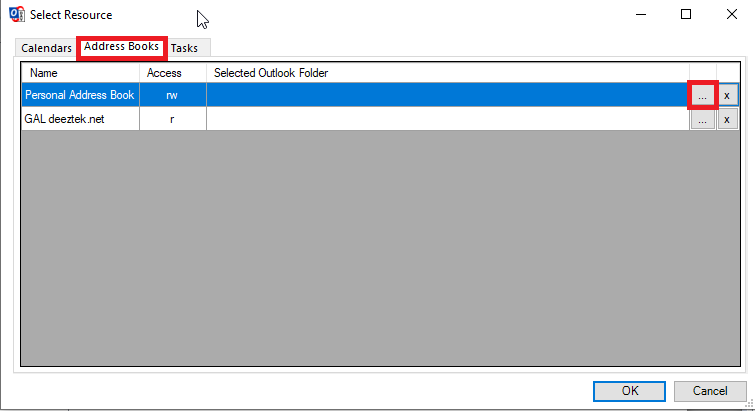
Back, in the Select Resource window, click the Address Books tab and click the button to the right of the Personal Address Book (Figure 21).
Figure 21
In the Select Folder window, click the New... button (Figure 22).
Figure 22
In the Create New Folder window, under the Name field enter Contacts, under the Folder contains drop-down select Contact Items ensure you have selected the correct e-mail account under the Select where to place the folder section and click the OK button (Figure 23).
Figure 23

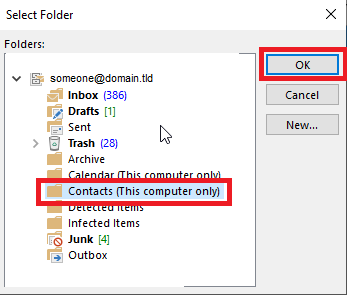
Back in the Select Folder window, you should have a new folder named Contacts (This computer only), select it and click the OK button (Figure 24).
Figure 24
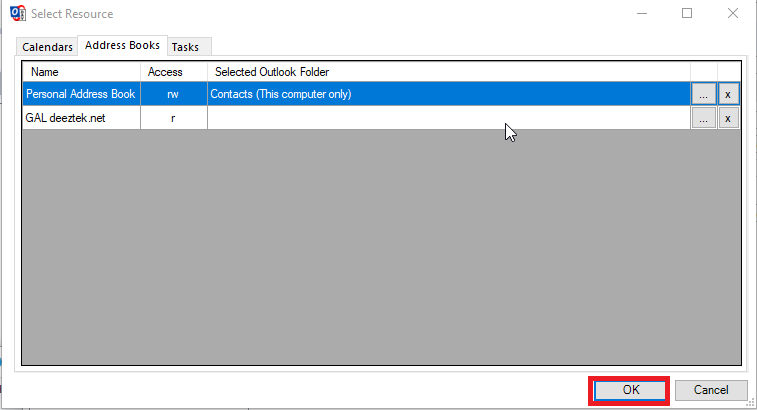
Back, in the Select Resource window, click the OK button (Figure 25).
Figure 25
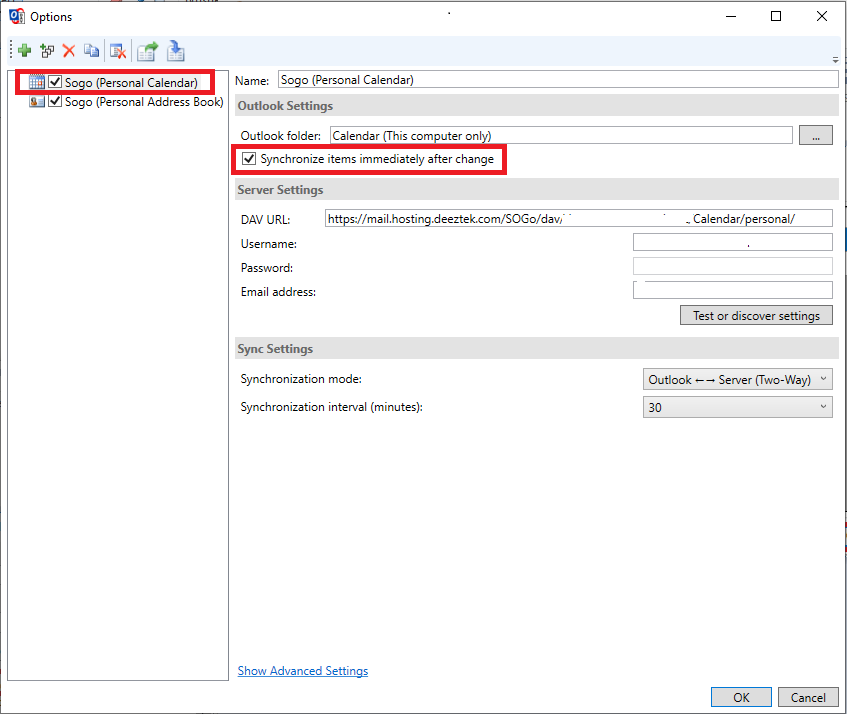
Back in the Options window, select Sogo (Personal Calendar) on the left-hand pane and ensure you place a check mark on Synchronize items immediately after change on the right-hand pane (Figure 26).
Figure 26
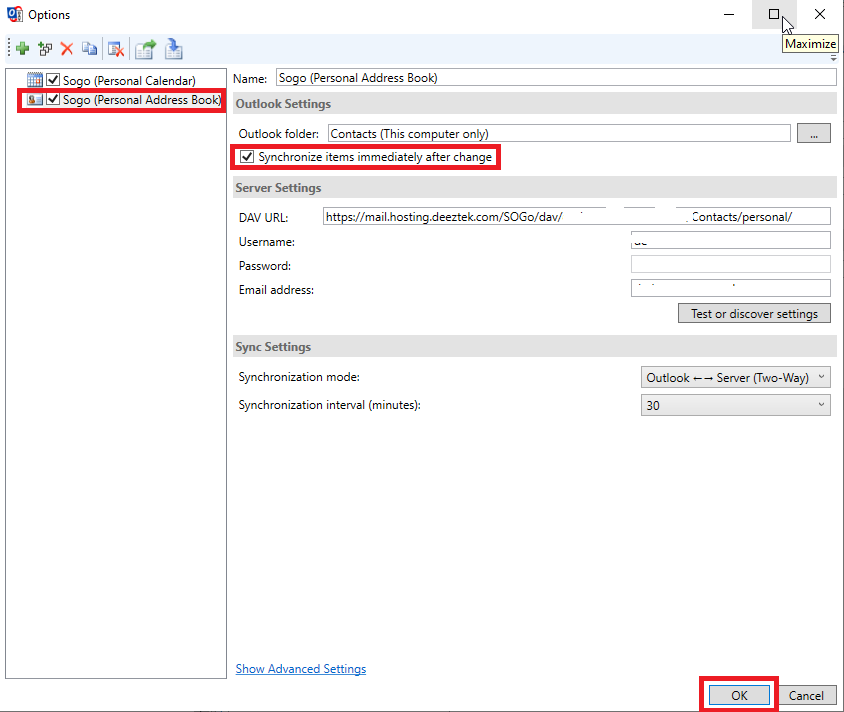
Next, select Sogo (Personal Address Book) on the left-hand pane and ensure you place a check mark on Synchronize items immediately after change on the right-hand pane and click the OK button (Figure 27).
Figure 27